How to Photograph Doodle Puppies and Get Better Results

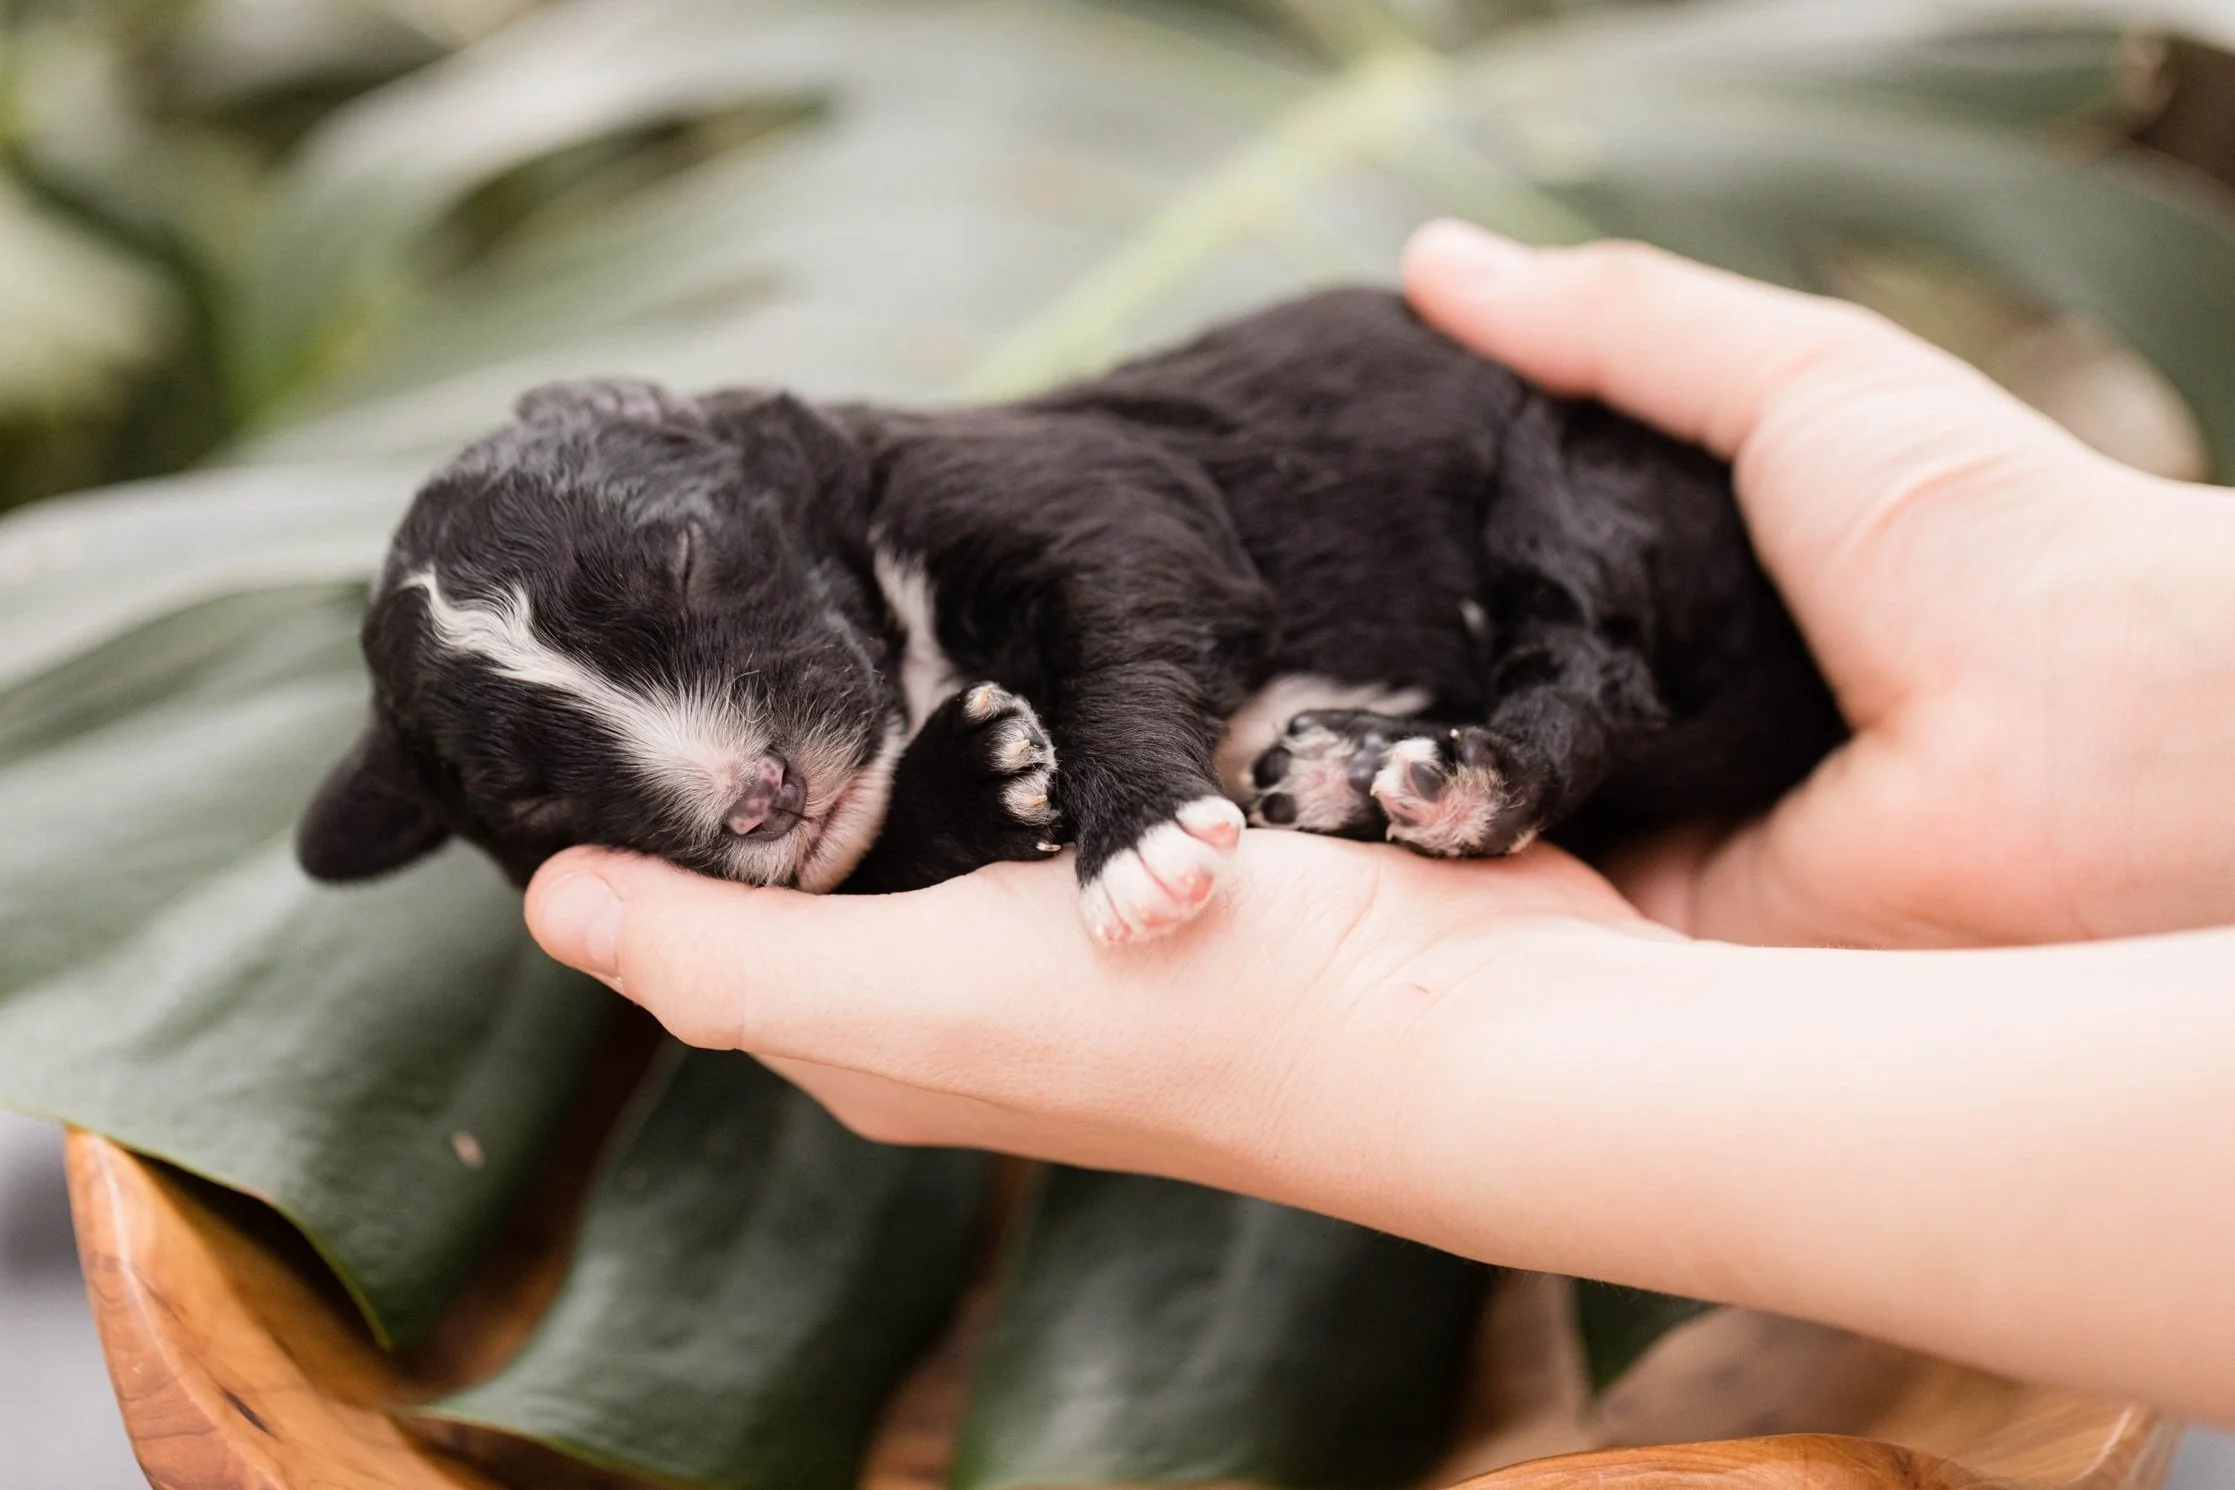
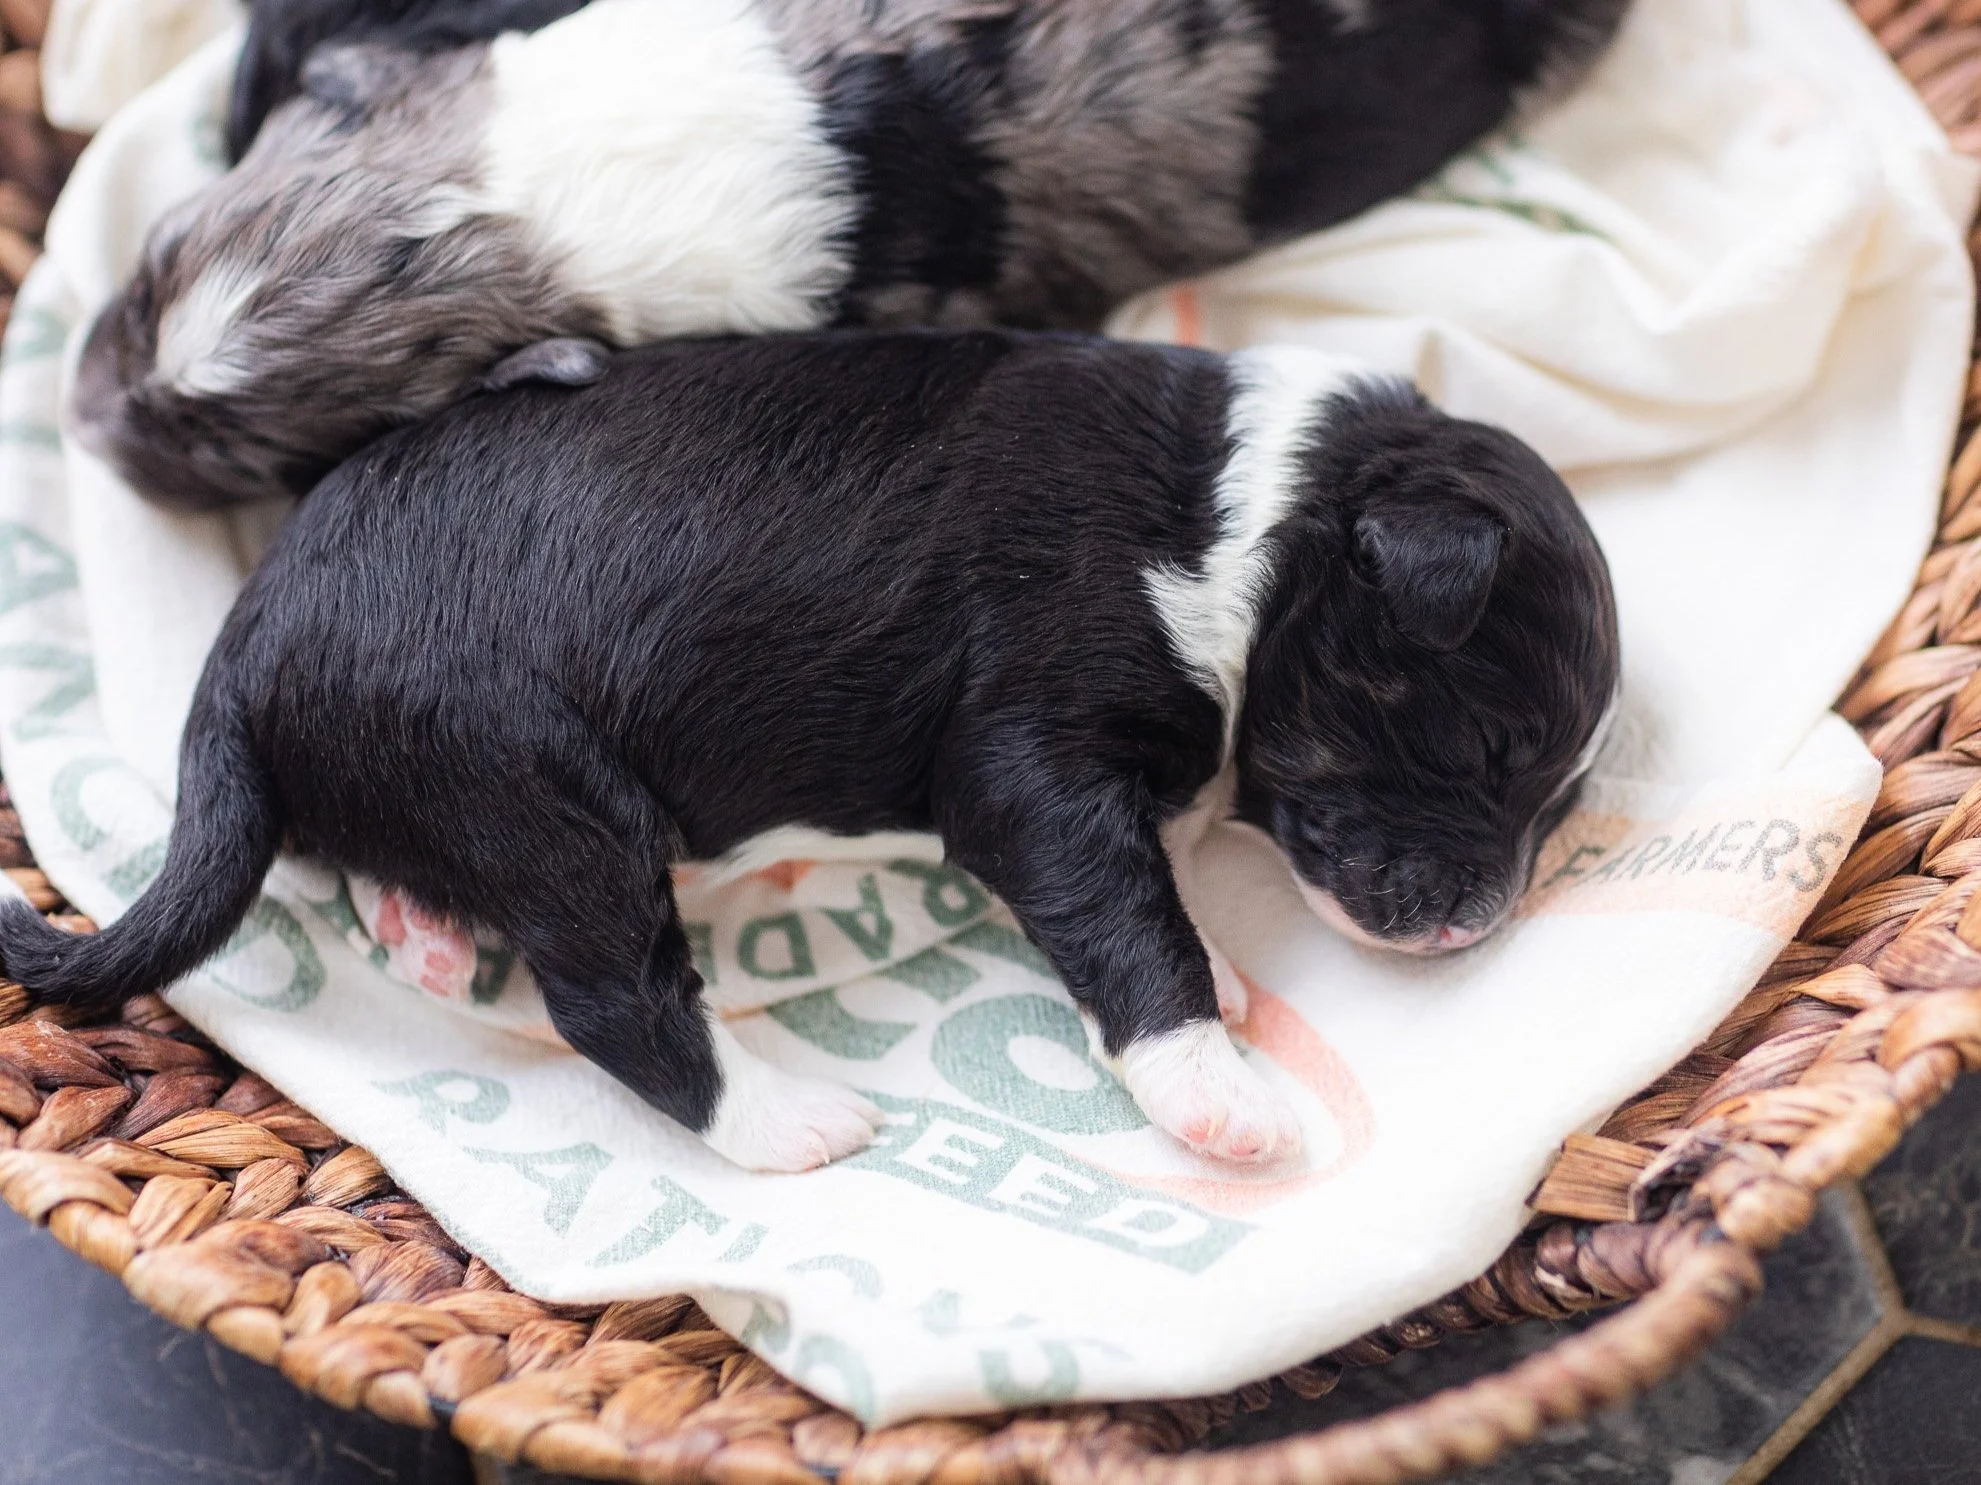
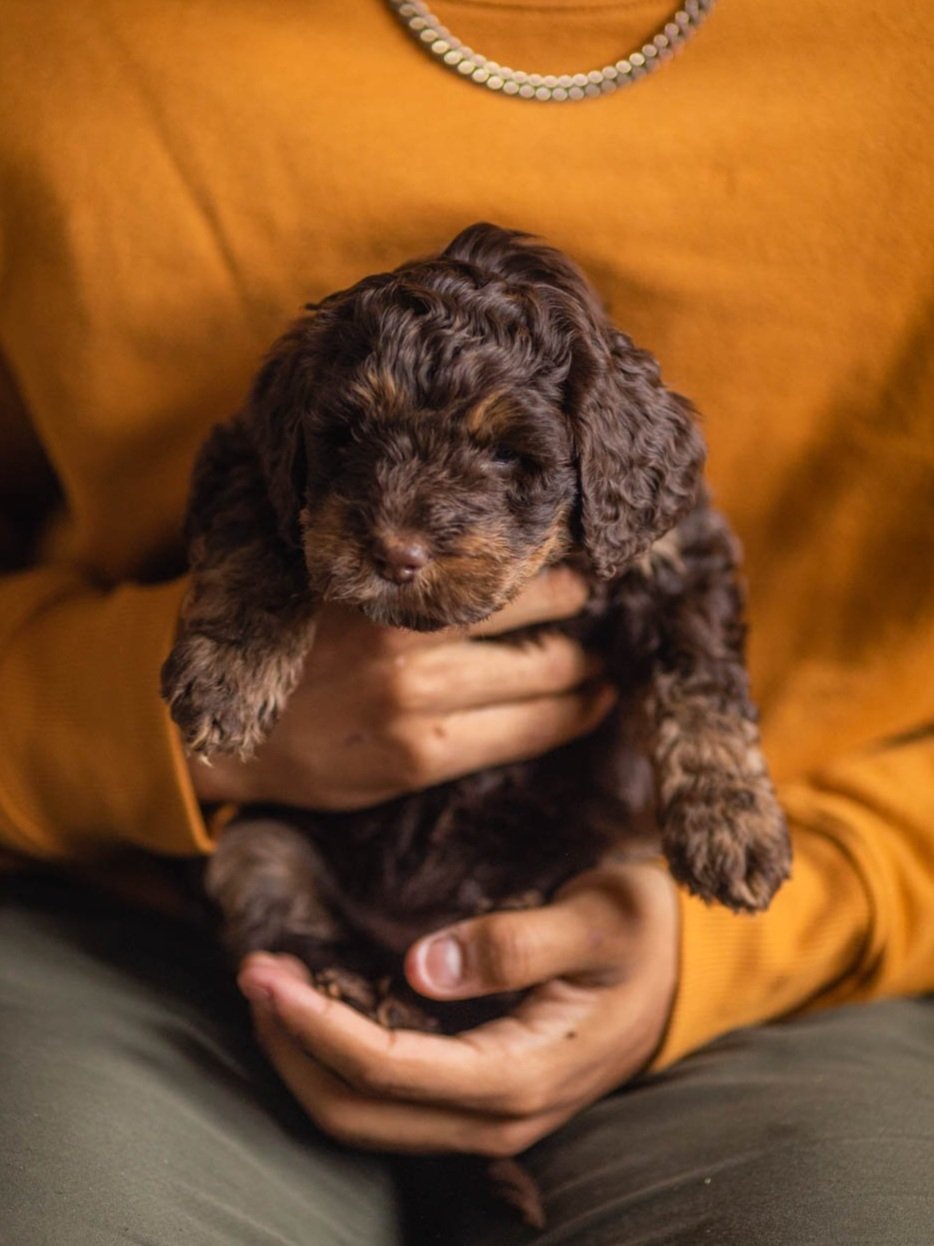
Sleeping Newborn Merle Sheepadoodle Puppy being held in child’s hands
Good photography typically involves the use of proper composition, lighting, and focus to create visually pleasing and impactful images. Composition refers to the arrangement of elements within the frame, such as the rule of thirds, leading lines, and symmetry. Lighting refers to the way in which the light falls on the subject, including natural light and artificial light sources. Focus refers to the sharpness of the subject within the image and can be controlled through aperture settings on the camera. Other elements such as color, texture, and depth of field can also play a role in creating a good photograph.
Shooting on brand means creating visual content that aligns with the overall aesthetic and messaging of a brand. It means creating images that visually represent the brand's values, personality and overall style. This includes things like color palette, composition, lighting, and overall mood of the image. It also means ensuring that the images are consistent with your brand's messaging, tone of voice, and overall visual identity. By shooting on brand, you can ensure that all of your visual content is cohesive and supports your overall marketing efforts.
Brand consistency is important for a number of reasons:
Black and White Sheepadoodle Puppy being held
Recognition: Consistency helps customers quickly recognize and identify a brand, which can lead to increased brand loyalty and recognition.
Trust: Consistently presenting a brand in a certain way can help to establish trust and credibility with customers.
Messaging: Consistency helps to ensure that a brand's messaging is clear and consistent across all platforms and media.
Marketing: Consistency in branding can help to support and reinforce marketing efforts, making them more effective.
Professionalism: Consistency in branding can help to convey a sense of professionalism and attention to detail, which can be important for building a strong reputation.
Efficiency: Consistency can help to streamline and simplify the branding process, making it more efficient and cost-effective.
Differentiation: Consistency can help a brand to stand out from its competitors and differentiate itself in the market.
Brand Experience: Consistency in branding can contribute to the overall customer experience, making it more memorable and enjoyable.
To photograph puppies, here are some tips:
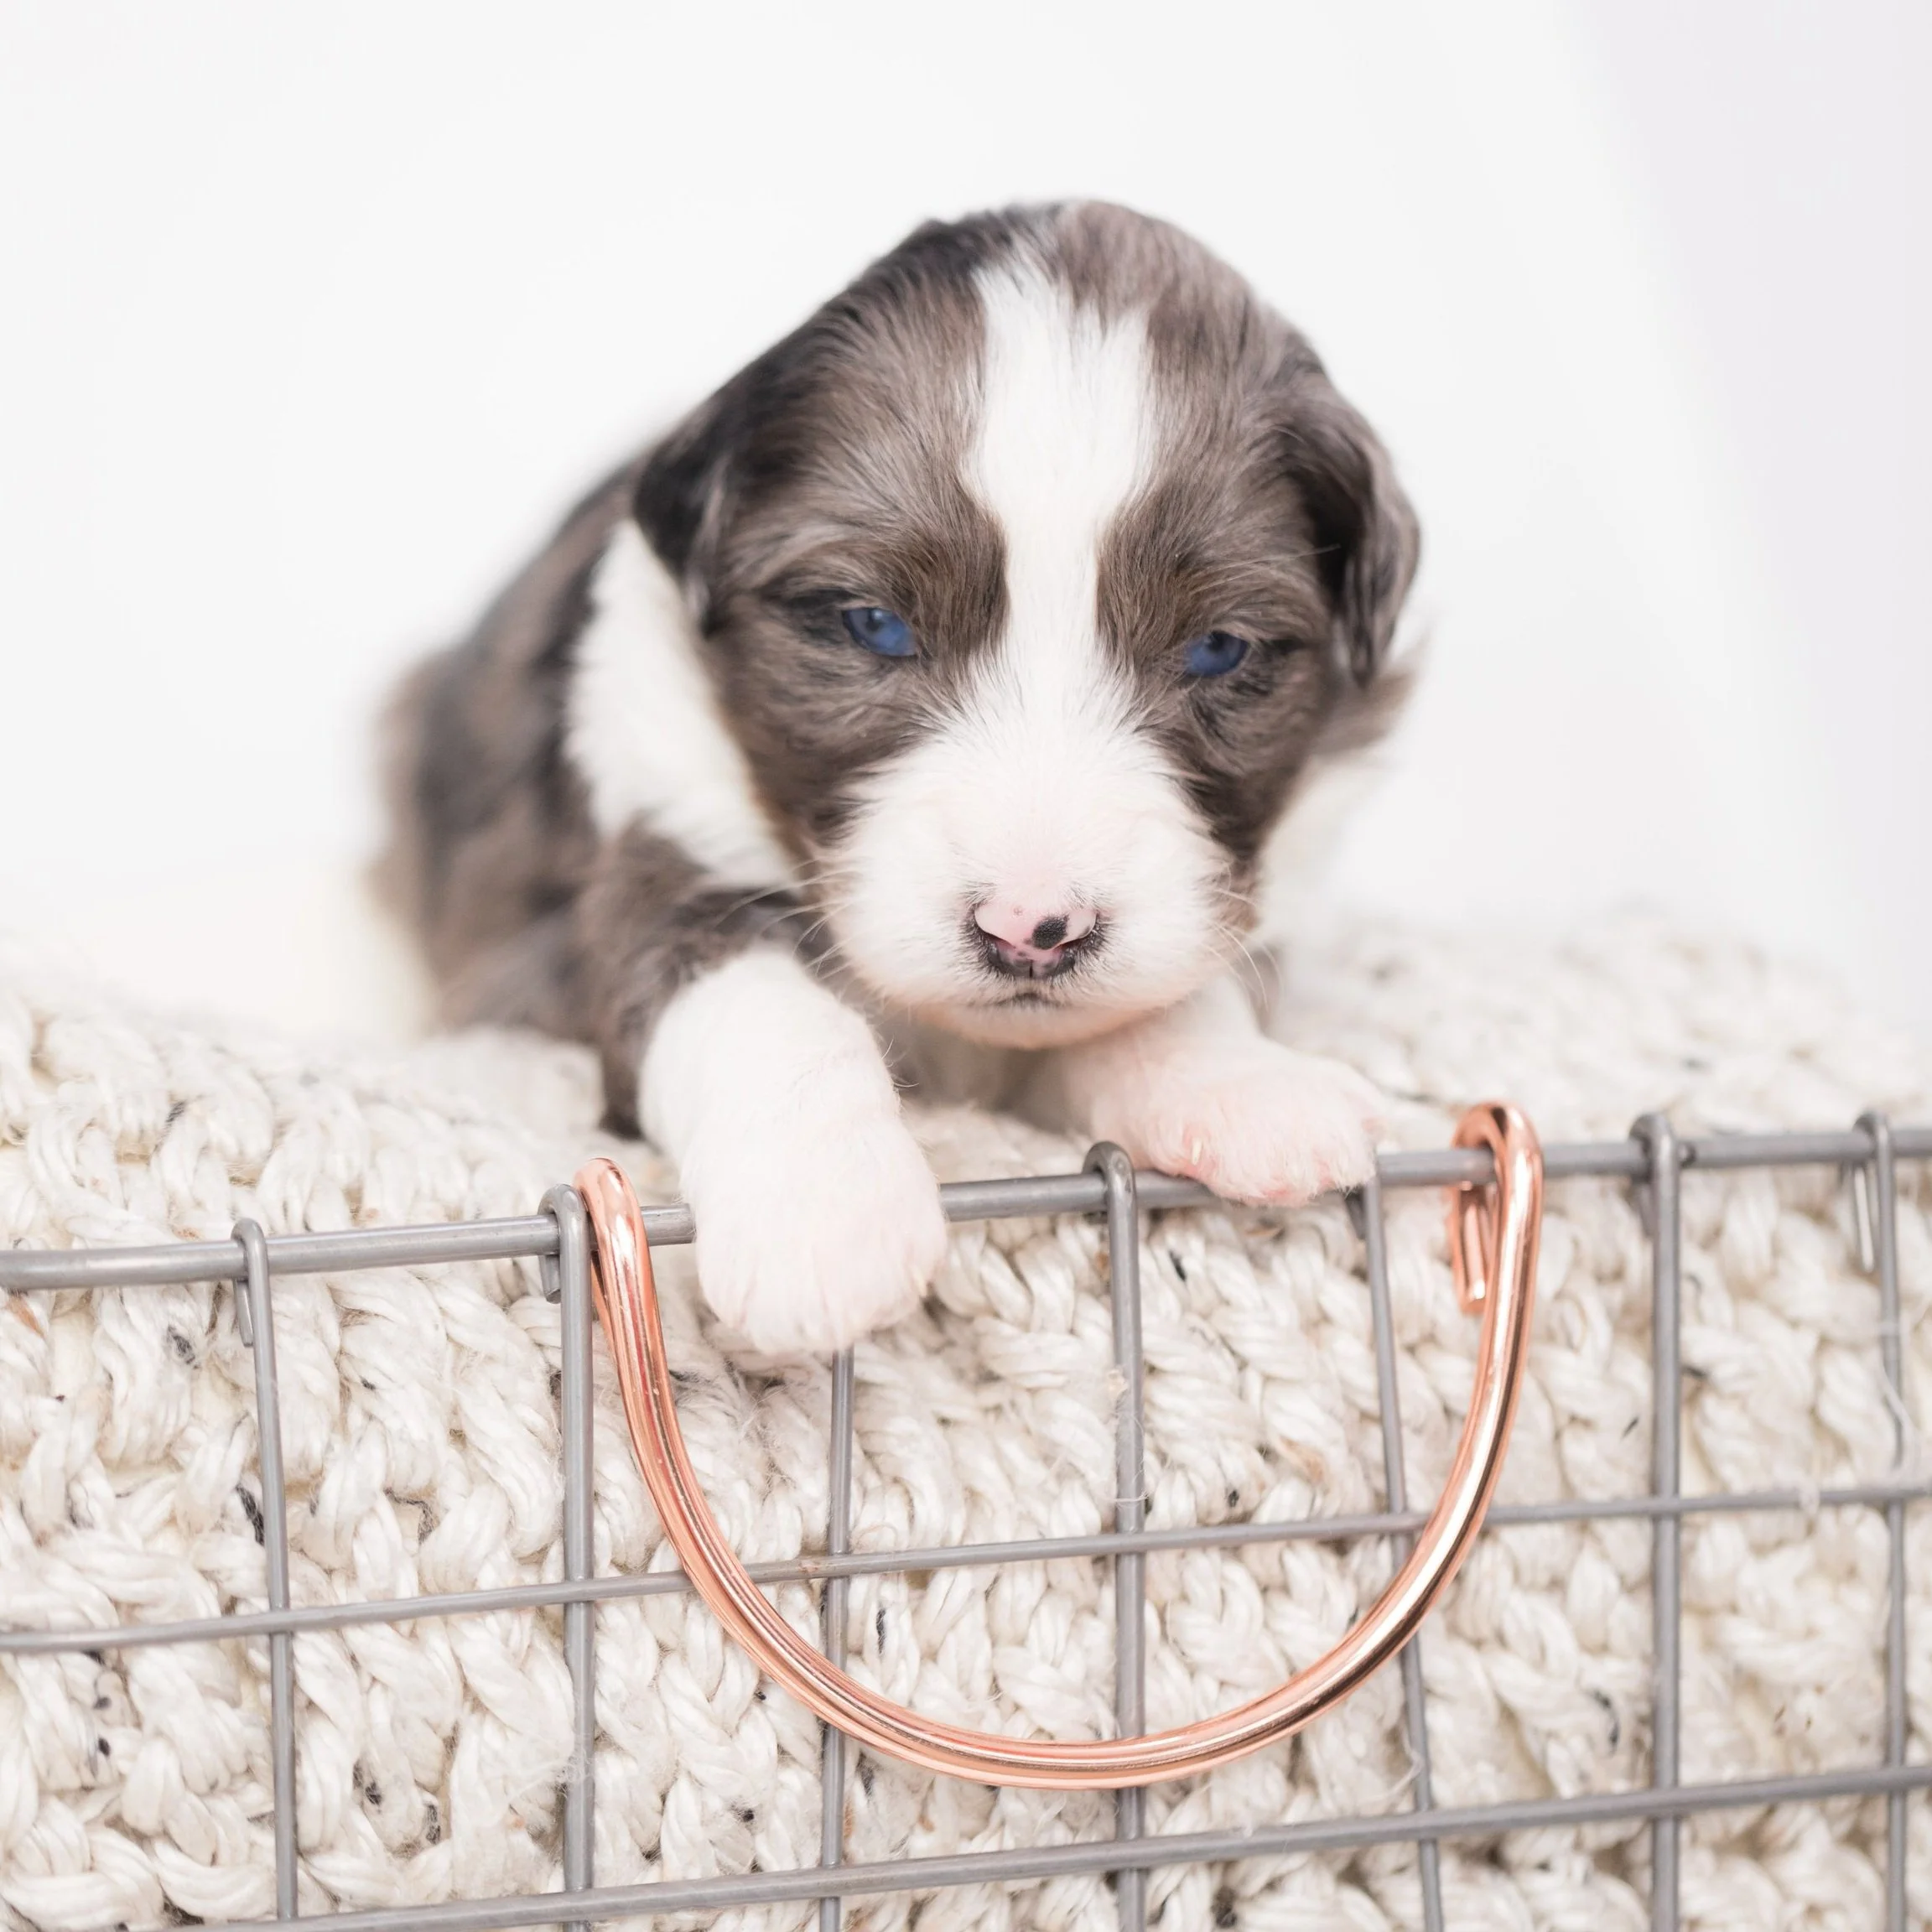
Blue Merle Aussiedoodle in a wire basket
Choose the right time of day: Puppies have a lot of energy and they are most active during the morning and evening.
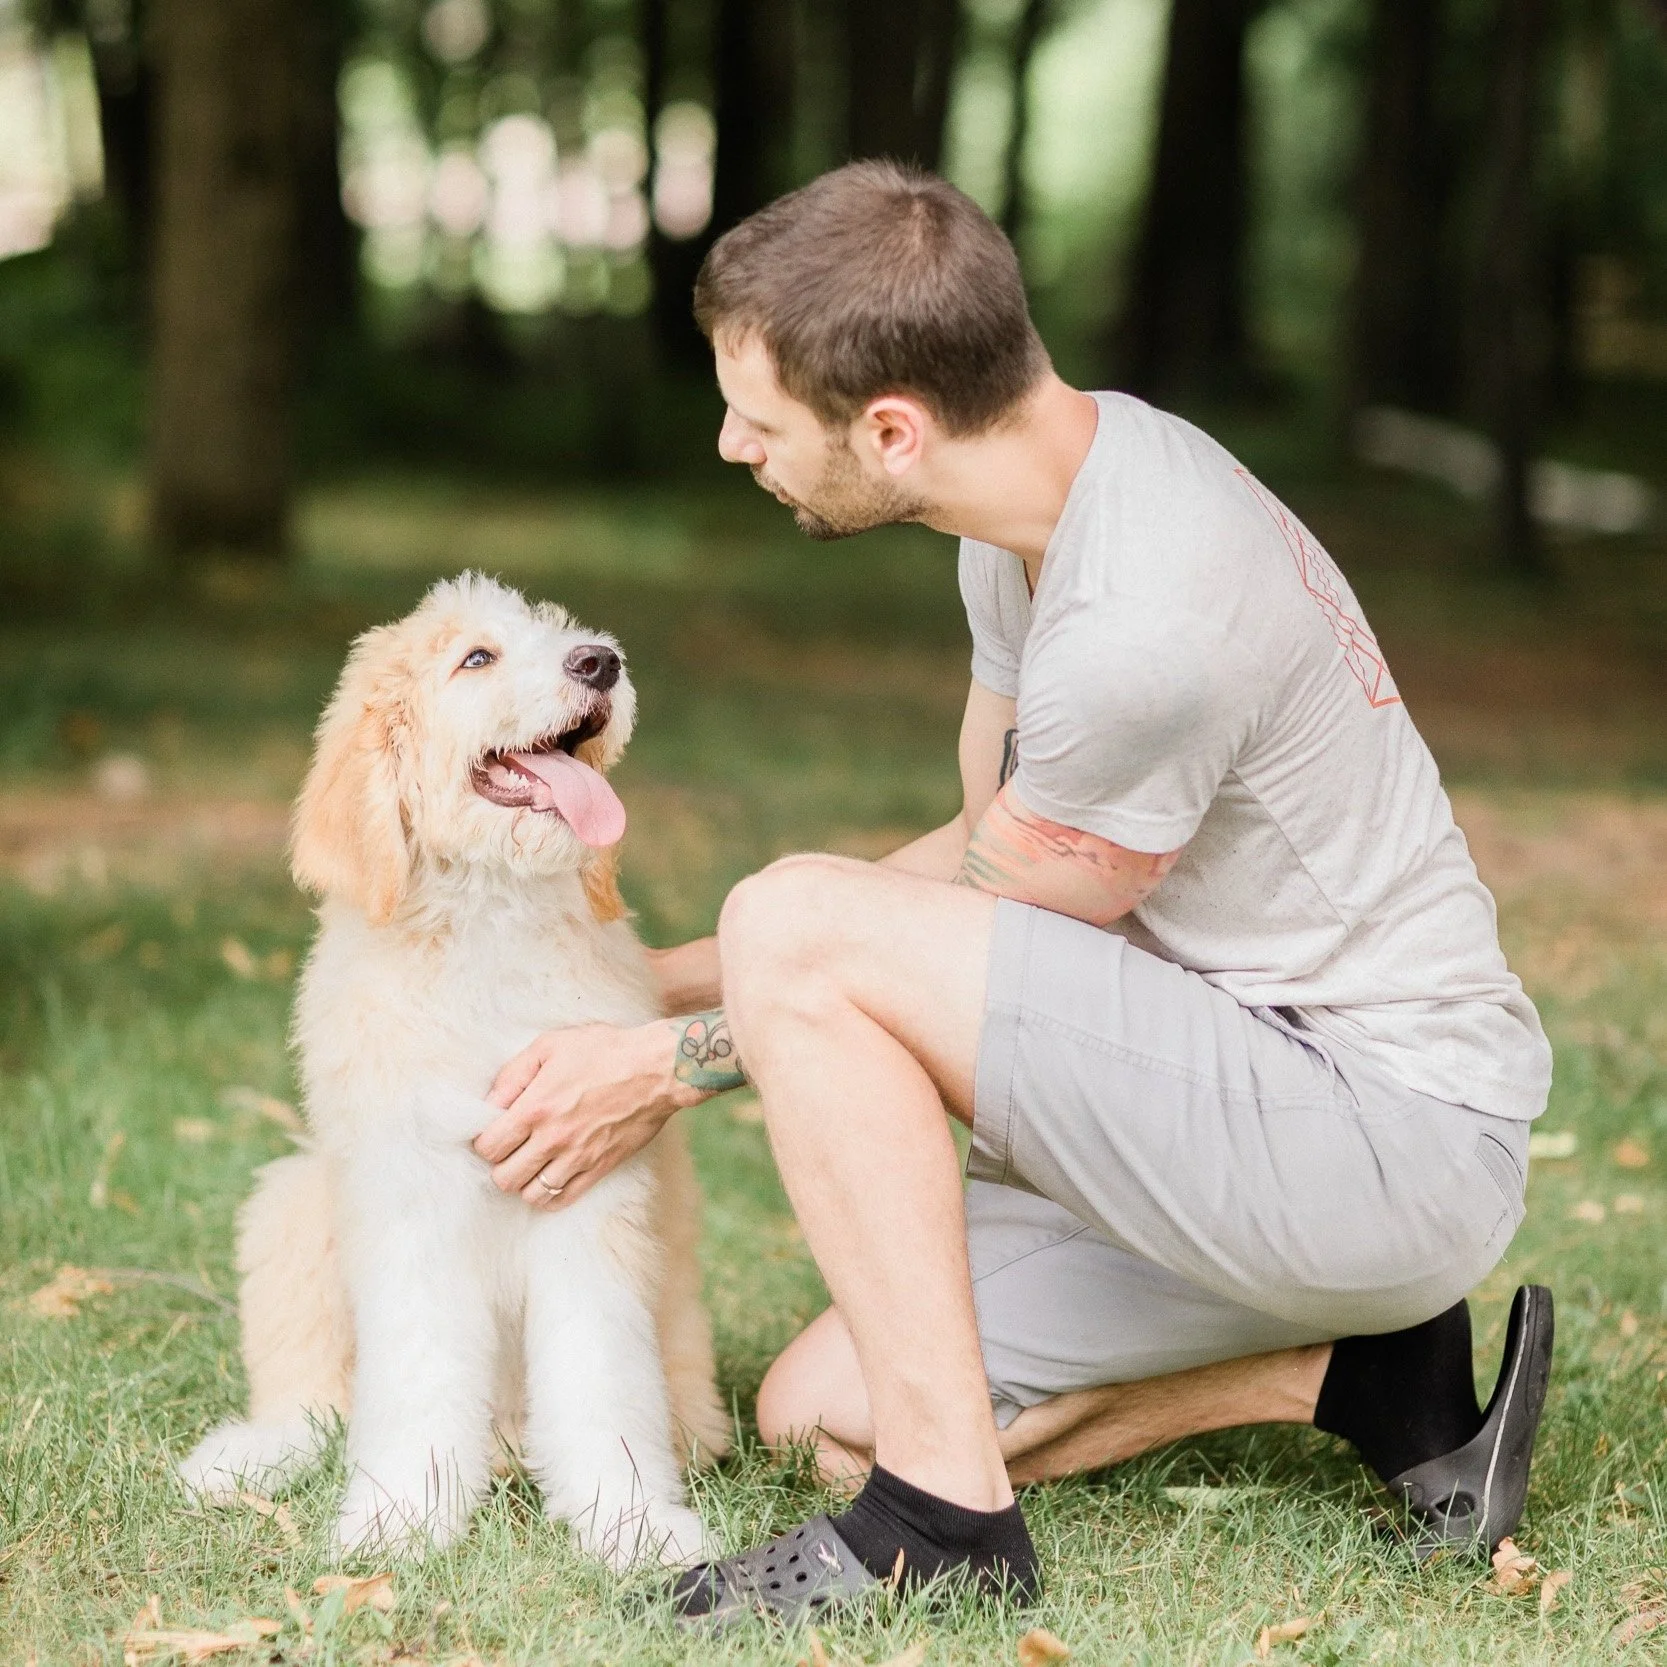
Get a Partner who can serve as a puppy handler.
Use a fast shutter speed: Puppies are always moving so you will want to use a fast shutter speed to freeze the action and avoid motion blur.
Get down to their level: Photographing puppies from their level will give you more interesting and engaging photos. We like to use a chair or a table and keep a spotter near by. Kids are great for this! Be safe.
Use natural light: Natural light will give your photos a more natural and warm look. Diffused window light is best.
Use a wide aperture: Using a wide aperture (low f-stop number) will help to blur the background and make the puppy stand out.
Be patient: Puppies are easily distracted and it can take some time to get the perfect shot. Be patient and wait for the right moment.
Have fun: Finally, remember to have fun and enjoy the process of photographing puppies.
Be prepared to take many shots, puppies are active and you may have to take many shots to get one good one.
Here are some tips for taking better Dog photos with an iPhone Pro:
Use the focus and exposure controls: Tap on the screen where you want to focus and set the exposure. This will help you to control the brightness and sharpness of the image.
Take advantage of the telephoto lens: The iPhone Pro has a dual-lens system that includes a wide-angle and telephoto lens. Use the telephoto lens to zoom in on your subject and capture more detailed images. In this case, zooming in the puppies noes and other areas of fine detail.
Experiment with different lighting: Take advantage of natural light and play around with different lighting conditions to see how it affects your photos.
Use the grid lines to compose your shots: The iPhone Pro has a feature called the "grid lines" which when activated will show you grid lines on the screen, use this to apply the rule of thirds in your composition.
Use the Pro mode: The Pro mode allows you to adjust the ISO, shutter speed, and white balance, giving you more control over your images.
Edit your photos: The iPhone Pro has a built-in photo editor that allows you to adjust the brightness, contrast, and saturation of your photos. Experiment with different editing techniques to enhance your images.
Try apps: You can find a lot of apps in the Appstore that can help you to take better photos and edit them too.

Basket of F1 Mini Aussiedoodles Red and Blue Merle Puppies
RULE OF THIRDS
The rule of thirds is a guideline for composing photographs, paintings and other artworks. It suggests that an image can be divided into nine equal parts by two equally-spaced horizontal lines and two equally-spaced vertical lines. The theory is that if you place points of interest along these lines, or at the intersections of them, your photo will be more balanced and will have more visual interest.
The rule of thirds suggests that you should place your puppy either along one of the lines or at one of the intersections. For example, if you are taking a photo of a person, you should align the person's eyes with the top horizontal line. This creates a more dynamic composition and helps to lead the viewer's eye into the image. We like to focus on the yes of the puppy or the nose to ensure the face is in focus.
Rule of Thirds

Brown Merle Poodle
Crop ratio
Crop ratio refers to the proportion of the width to the height of an image. Here are some of the most common crop ratios:
1:1 (Square): This ratio creates an image that is the same width as it is height, resulting in a square image. This ratio is commonly used for social media platforms like Instagram, which uses square images in their news feed.
4:3 (Standard): This ratio creates an image that is 4 units wide for every 3 units of height. This ratio is commonly used for standard prints and some digital cameras.
3:2 (35mm Film): This ratio creates an image that is 3 units wide for every 2 units of height. This ratio is commonly used for 35mm film cameras and DSLR cameras.
16:9 (Wide): This ratio creates an image that is 16 units wide for every 9 units of height. This ratio is commonly used for wide-screen displays and videos.
2:3 (Portrait) This ratio creates an image that is 2 units wide for every 3 units of height. This ratio is commonly used for portrait photography.
9:16 (Vertical) This ratio creates an image that is 9 units wide for every 16 units of height. This ratio is commonly used for vertical video and mobile screens.
Fibonacci Spiral
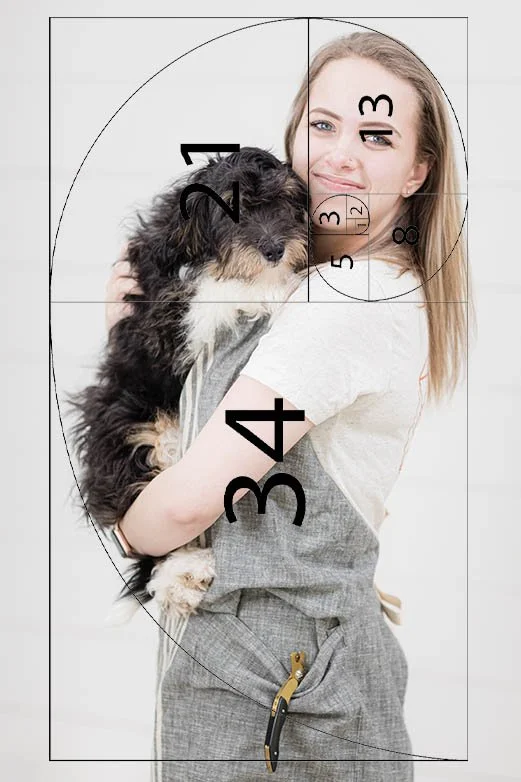
Fibonacci Spiral example of a groomer holding a puppy
The Fibonacci spiral, also known as the Golden Spiral, is a photographic composition technique that is based on the Fibonacci sequence. The Fibonacci sequence is a mathematical pattern in which each number is the sum of the two preceding ones, typically starting with 0 and 1. In photography, the Fibonacci spiral is created by overlaying a spiral grid on the image, with the spiral's shape and size determined by the Fibonacci sequence. The idea is to use this pattern to compose the image in a way that is pleasing to the eye and creates a sense of movement or flow.
One way to use the Fibonacci spiral in photography is to align the spiral with the main subject of the image, such as a person or an object. This can help to create a sense of movement or flow in the image, and can also help to lead the viewer's eye into the image.
Another way to use the Fibonacci spiral is to use the spiral as a guide for the placement of other elements in the image, such as trees, rocks, or other natural elements. This can create a sense of balance and harmony in the image, and can help to create a sense of movement or flow.
Reflectors: White boards
White boards can be used in photography to reflect light and add fill light to your subject. Here are a few tips for using white boards in photography:
Position the white board correctly: Place the white board at a 45-degree angle to your subject and adjust the distance between the white board and the subject until you achieve the desired level of fill light. You can also try positioning the white board at different angles, such as above or below the subject, to see how it affects the lighting.
Use a large white board for a softer light: A larger white board will reflect light over a larger area and create a softer, more diffused light. This can be beneficial for portrait or product photography, as it will help to reduce harsh shadows and create a more even lighting.
Use a smaller white board for a more directed light: A smaller white board will reflect light over a smaller area and create a more directed light. This can be beneficial for photography in which you want to create more dramatic lighting, such as in fashion or product photography.
Experiment with different types of white boards: Different types of white boards, such as foam board, can reflect different amounts of light and create different lighting effects. Experiment with different types of white boards to see which one works best for your desired lighting effect.
Use it as a reflector: Whiteboard can be used as a reflector to reflect light into a subject, and it is especially useful when you are working with natural light. This can be helpful for filling in shadows and adding light to a subject's face.
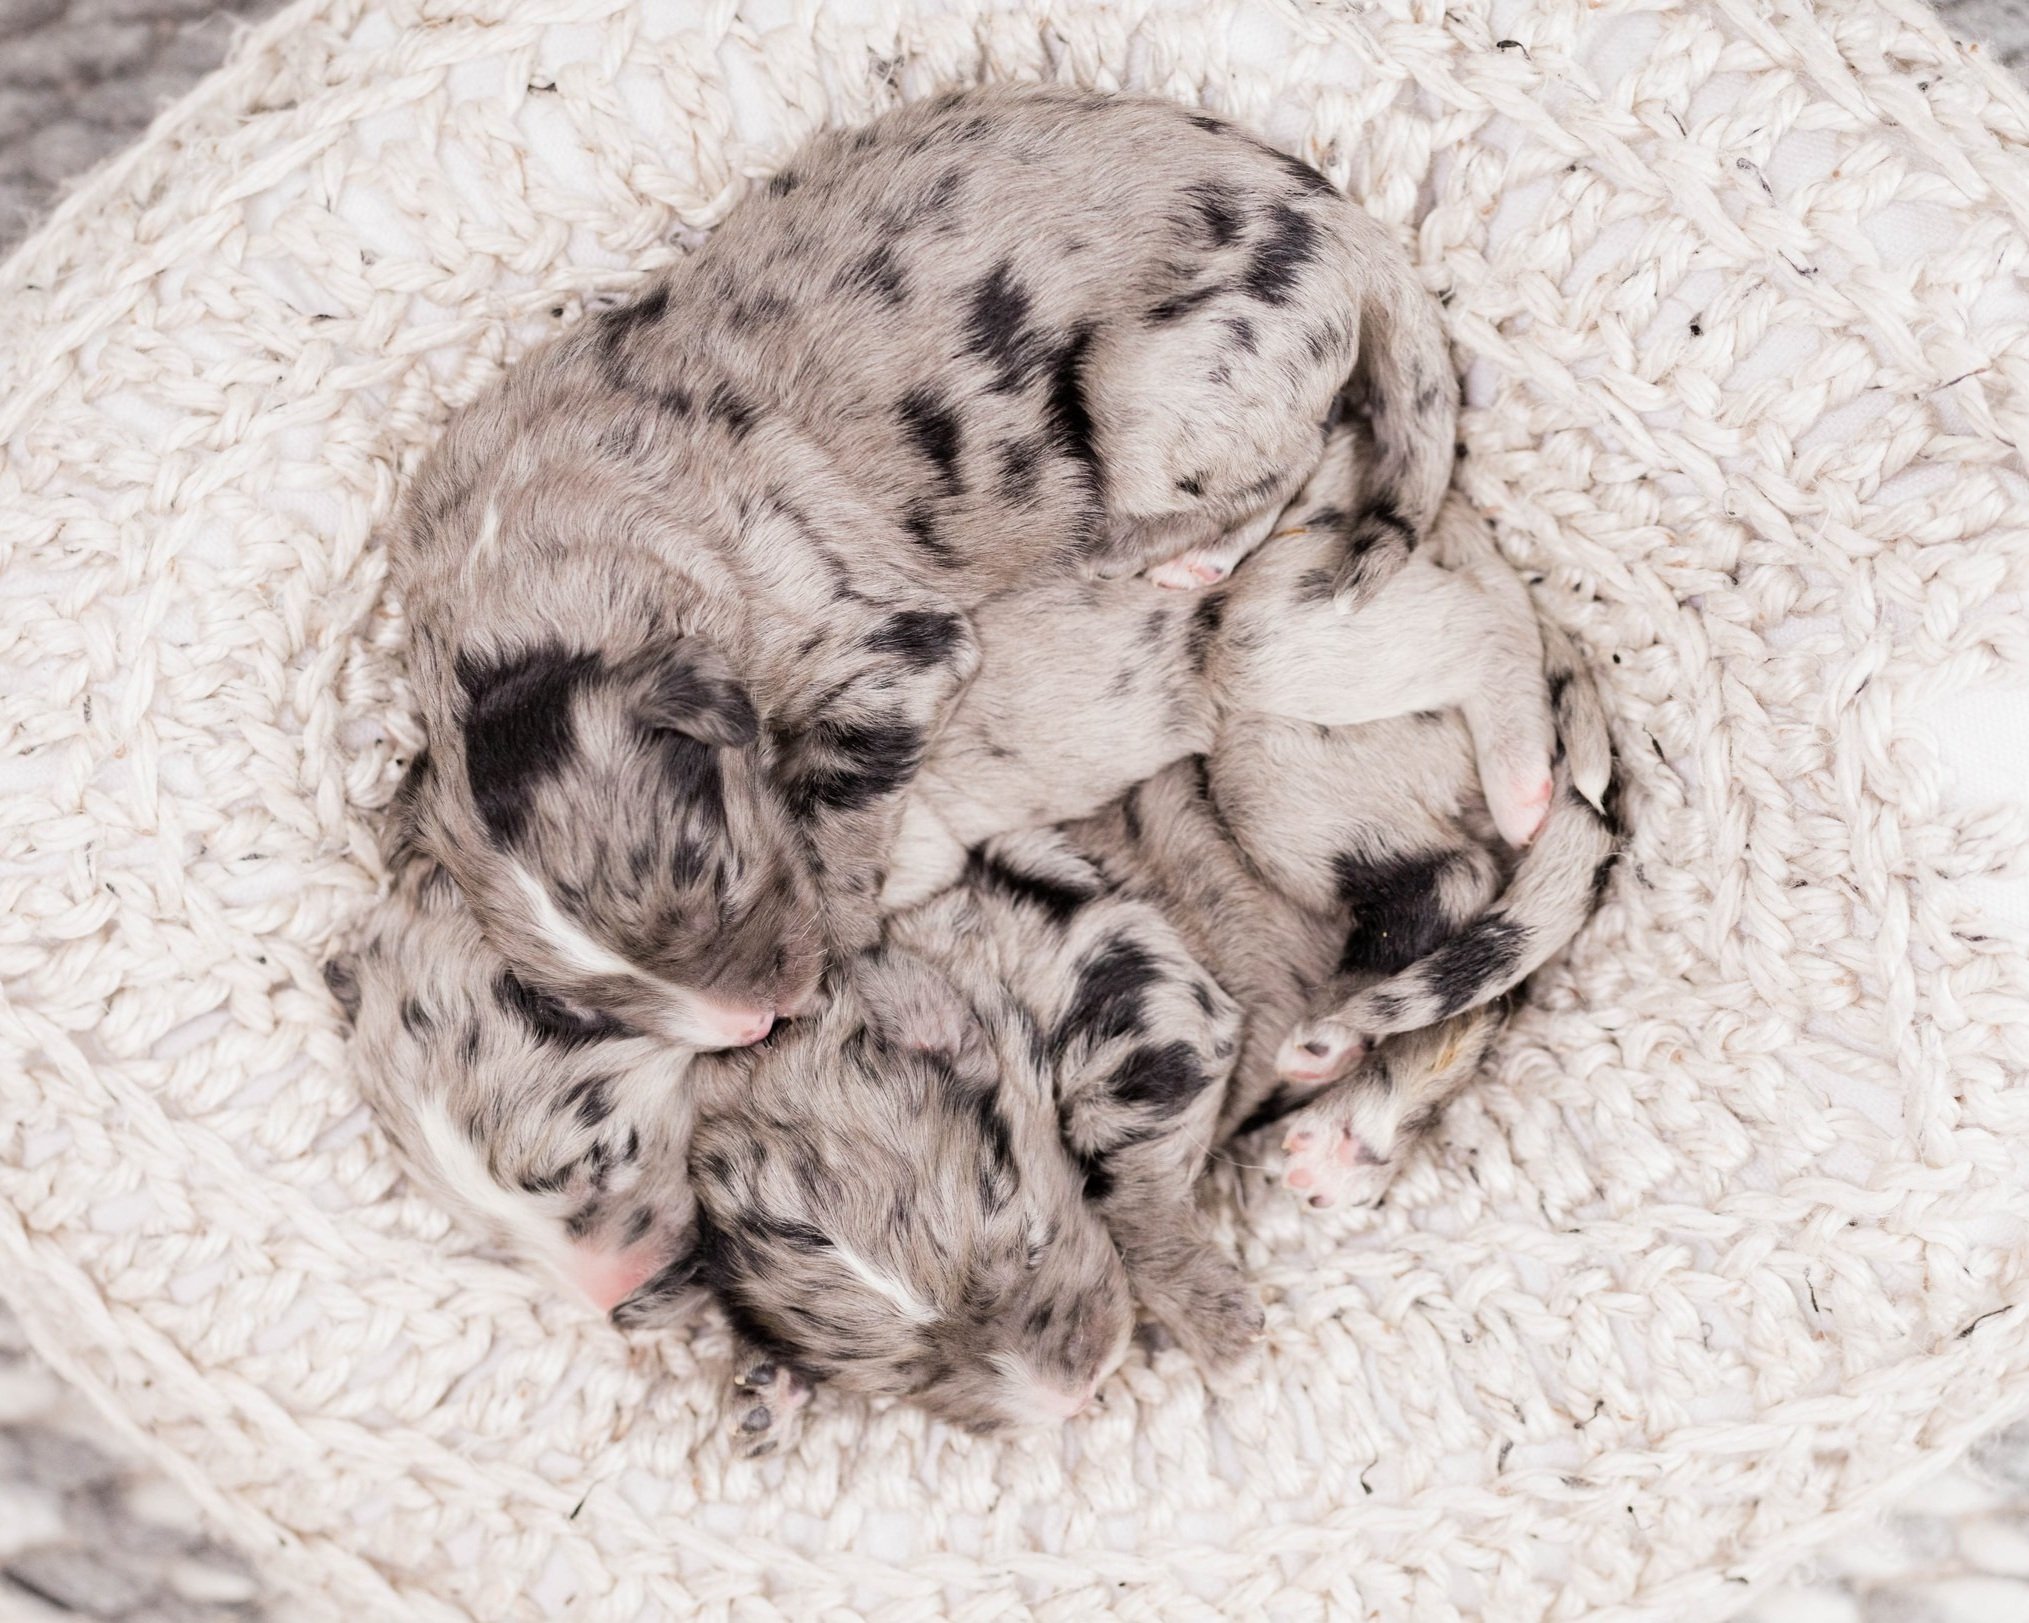
Three Blue Merle F1 Sheepadoodles in a woven nest
It's important to note that even if you have a white board, it's just one more tool in your photography toolbox and it should be used in conjunction with other lighting techniques such as adjusting ISO, shutter speed and aperture.
Natural light and artificial light are both important tools for dog photographers, but they have distinct differences and can be used in different ways to create different effects.
Natural light is light that comes from the sun or other natural sources, such as the moon, fire, or water. It is often considered to be the best type of light for photography, as it is soft and even, and can create a natural and pleasing look. Natural light is also free and always available. However, it can be difficult to control and can change quickly.
Artificial light, on the other hand, is light that is created by man-made sources such as lamps, flash, or strobes. Artificial light allows photographers to create a specific lighting effect, and can be used to light a subject in a way that is not possible with natural light. It can be used to create hard or soft light, and can also be used to create shadows or highlights. However, artificial light can be expensive and requires extra equipment to be set up.
When deciding between natural light and artificial light, it is important to consider the desired effect and the specific requirements of the shoot. Natural light is often considered to be the best choice for portrait and landscape photography, as it creates a more natural and pleasing look. Artificial light is often used in commercial and studio photography, as it allows for more control and can create a specific lighting effect.
It's important to note that a mix of both natural and artificial light can create dynamic results, as well. For example, a portrait shoot on a sunny day but with a reflector or a diffuser to control the harsh sunlight.
For dog photography, we recommend finding a large south or north-facing window that doesn’t have direct sunlight and removing all artificial light sources from the room. Shoot on cloudy for a consistent look. You can set your camera or phone to Kelvin.
Shooting in Kelvin (K)
Shooting in Kelvin (K) is a photography term that refers to the color temperature of light. The Kelvin scale is used to measure the color temperature of light sources, with lower numbers representing warm (more orange or yellow) tones and higher numbers representing cool (more blue or white) tones.
When shooting in Kelvin, the photographer has the ability to control the color temperature of the light, which can be useful for creating a specific mood or effect in an image.
Goldendoodle sitting in shade shot in 6500K
When shooting in Kelvin, photographers can use a color temperature meter to measure the color temperature of the light and adjust their camera settings accordingly. In digital cameras, this is usually done in the camera's white balance settings, where the photographer can select a specific color temperature or even set a custom white balance.
For example, if you're shooting a portrait in warm light, you can set the white balance to around 3200K to match the warm color of the light, this will make the skin tones look more natural and pleasing. On the other hand, if you're shooting in a cool light you can set the white balance to around 6000K.
Shooting in Kelvin can be particularly useful in situations where the light source is mixed or when the light changes during the shoot, it allows the photographer to match the color temperature of the light and make the colors in the image look consistent.
The color temperature of light on a cloudy day is typically around 6000K to 7000K, which falls into the cool, blue-white range on the Kelvin scale. This is because clouds act as a natural diffuser, spreading out and softening the light from the sun and reducing the amount of warm, orange-yellow light that reaches the ground. This can create a cool, overcast look in your photos.
When shooting on a cloudy day, you may want to set your camera's white balance to around 6000K to match the cool color of the light and make the colors in the image look natural. This will help to prevent any color cast or yellow tones in your photos, and give you a more accurate representation of the scene.
Editing
Lightroom is a powerful photo editing software developed by Adobe. It allows you to organize, edit, and share your photographs. Here are some basic steps for using Lightroom to edit your photos:
F1 Mini Aussiedoodle Puppies Sleeping
Import your photos: The first step is to import your photos into Lightroom. You can do this by connecting your camera to your computer or by locating the files on your hard drive and adding them to Lightroom's library.
Organize your photos: Once your photos are in Lightroom, you can organize them by creating collections, tagging them with keywords, and rating them. This will make it easier to find specific photos later on.
Edit your photos: The main purpose of Lightroom is to edit your photos. You can access the editing tools by selecting a photo and clicking on the Develop tab. Here you will find a variety of tools to adjust the exposure, color, contrast, and other settings.
Use presets: Lightroom comes with a variety of presets, which are pre-configured settings that can be applied to your photos with one click. You can also create your own presets, or download presets from other photographers.
Export your photos: Once you've finished editing your photos, you can export them in a variety of file formats, such as JPEG, TIFF, and DNG, and share them with others.
Create a slideshow, book, or web gallery: Lightroom also has a feature that allows you to create a slideshow, book, or web gallery of your photos, which can be useful for sharing your photos with friends, family, or clients.
Advanced editing: Lightroom offers advanced editing options like selective editing, which allows you to edit specific areas of the image, and advanced color correction, which allows you to adjust the color balance, saturation, and hue of your photos.
Keep in mind that Lightroom is a very powerful software and it takes time to master it. You can find tutorials and courses online to help you learn how to use it more effectively.
PRESETS
Lightroom presets are pre-configured settings for the Adobe Lightroom software that can be applied to images to achieve a certain look or effect. They can include adjustments to the exposure, color, contrast, and other image properties. They can be created by users or downloaded from other sources. They can save time and provide a consistent look to your images.
Check out ours below. These are the presets that we use on 100% of our photos!
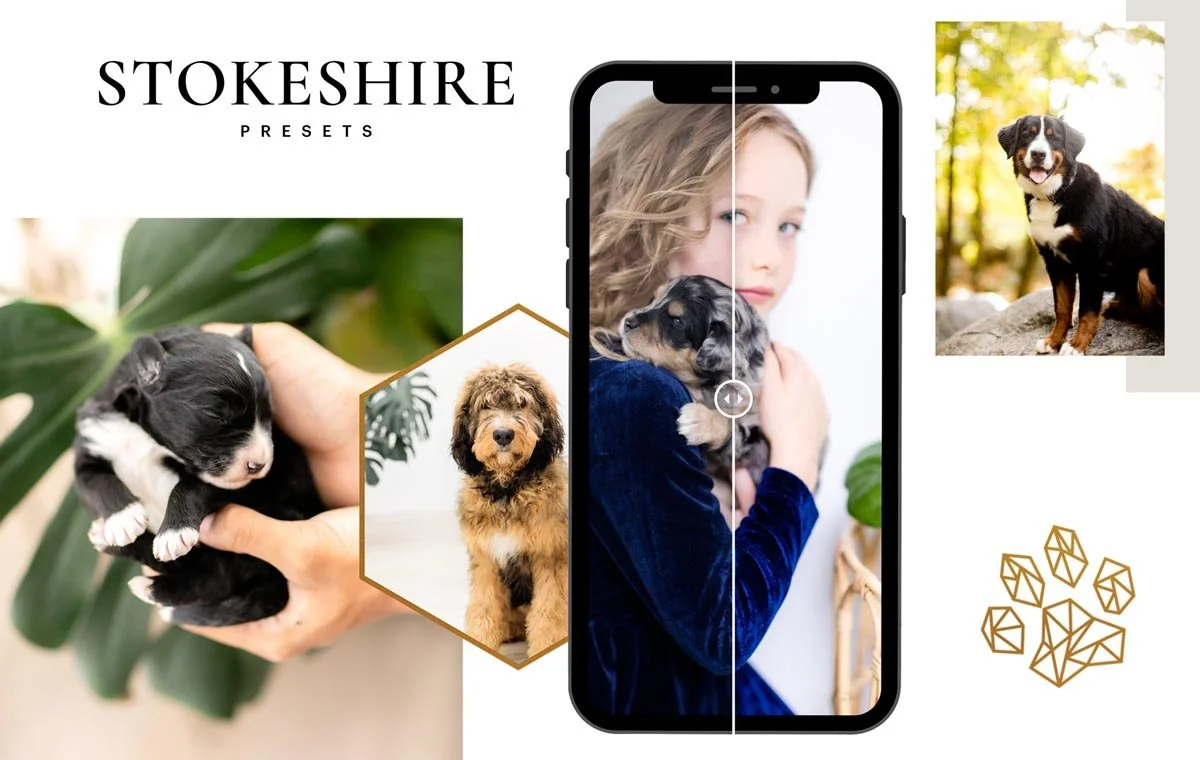
The Stokeshire Preset Pack
Effortless Consistency for the Passionate Dog-Tographer
Created with the busy, detail-driven dog photographer in mind, the Stokeshire Preset Pack brings a decade of professional artistry into your everyday workflow. Whether you're capturing playful paws, soulful eyes, or that perfect puppy blaze, these three hand-crafted presets are designed to deliver consistent, clean, and timeless results—fast.
Inspired by the custom presets used by James Stokes Photography, LLC, this pack showcases rich colors, medium contrast, and natural light tonality that makes doodle coats pop without overpowering the scene. Whites stay crisp and true, fur textures are rendered with elegance, and skin tones glow with lifelike warmth.
Whether you’re chasing golden light or working indoors, simply adjust your exposure and white balance—these presets handle the rest.
Natural. Vibrant. Lifestyle.
Compatible with:
Adobe® Lightroom® 4 or later
Adobe® Camera Raw CS6 or later
Adobe® Lightroom® Classic & CC 1.4 or later
Elevate your puppy portraits with a look that feels both editorial and effortless—because your photos should be as stunning as the companions you capture.
Exporting
When exporting images for use on websites and social media, it's important to consider the specific size and file type requirements for each platform. Here are some general guidelines for exporting images:
File type: JPEG is the most commonly used file type for web and social media images, as it offers a good balance of quality and file size. PNG or GIF can be used for images that require transparent backgrounds.
File size: Keep file size as small as possible while maintaining a good quality. Large file sizes can slow down page load times and negatively impact user experience.
Resolution: The resolution should be set to 72 dpi for web and social media. This will ensure that images look sharp on most screens.
Image size: Different platforms have different image size requirements. For example, Facebook recommends a resolution of 1200 x 630 pixels for link images, while Instagram recommends 1080 x 1080 pixels for square images.
Compression: Use an image compression tool or software like Adobe Photoshop or Lightroom to reduce the file size without losing quality.
Naming conventions: Use a consistent naming convention for images, for example, including the date and a brief description of the image in the file name.
Use an image resizing tool, if you have a lot of images to resize to different sizes.
Check the final image size and quality before uploading to the website or social media platform.
Image Metadata
Image metadata is information about an image that is embedded within the image file itself. This can include information such as the date the image was taken, the camera and settings used to take the photo, and the image's dimensions. This metadata can be useful for photographers, image editors, and website developers, as it can provide information about the image that can be used to help manage and optimize it.
Alt text (alternative text) is a short text description that can be added to an image on a website. The purpose of alt text is to describe the content of an image in a way that can be understood by screen readers and other assistive technology for people who are visually impaired. It also provides a text alternative for search engines and it is used when the image can't be loaded. The alt text is also displayed by browsers if the image can't be loaded and by search engines when they index the page, providing context and information about the image.
There are a few key principles for naming photos that can help to keep a photo library organized and easy to navigate:
Use meaningful and descriptive names: Instead of using generic names like "IMG1234.jpg", give your photos descriptive names that indicate what is in the image, such as "puppy_on_beach.jpg".
Use a consistent naming convention: Whether you use a date-based system, a location-based system, or another method, it's important to be consistent in how you name your photos. This can make it much easier to find and organize your photos later on.
Use lowercase letters: Some operating systems and software are case-sensitive, which can create problems if you use uppercase letters in your file names. To avoid this, it's best to stick with lowercase letters.
Use underscores or dashes: Spaces in file names can create problems when working with some software, so it's a good idea to use underscores or dashes to separate words in your file names.
Include the file type extension: Be sure to include the file type extension (e.g. .jpg, .png, .raw) at the end of your file names.
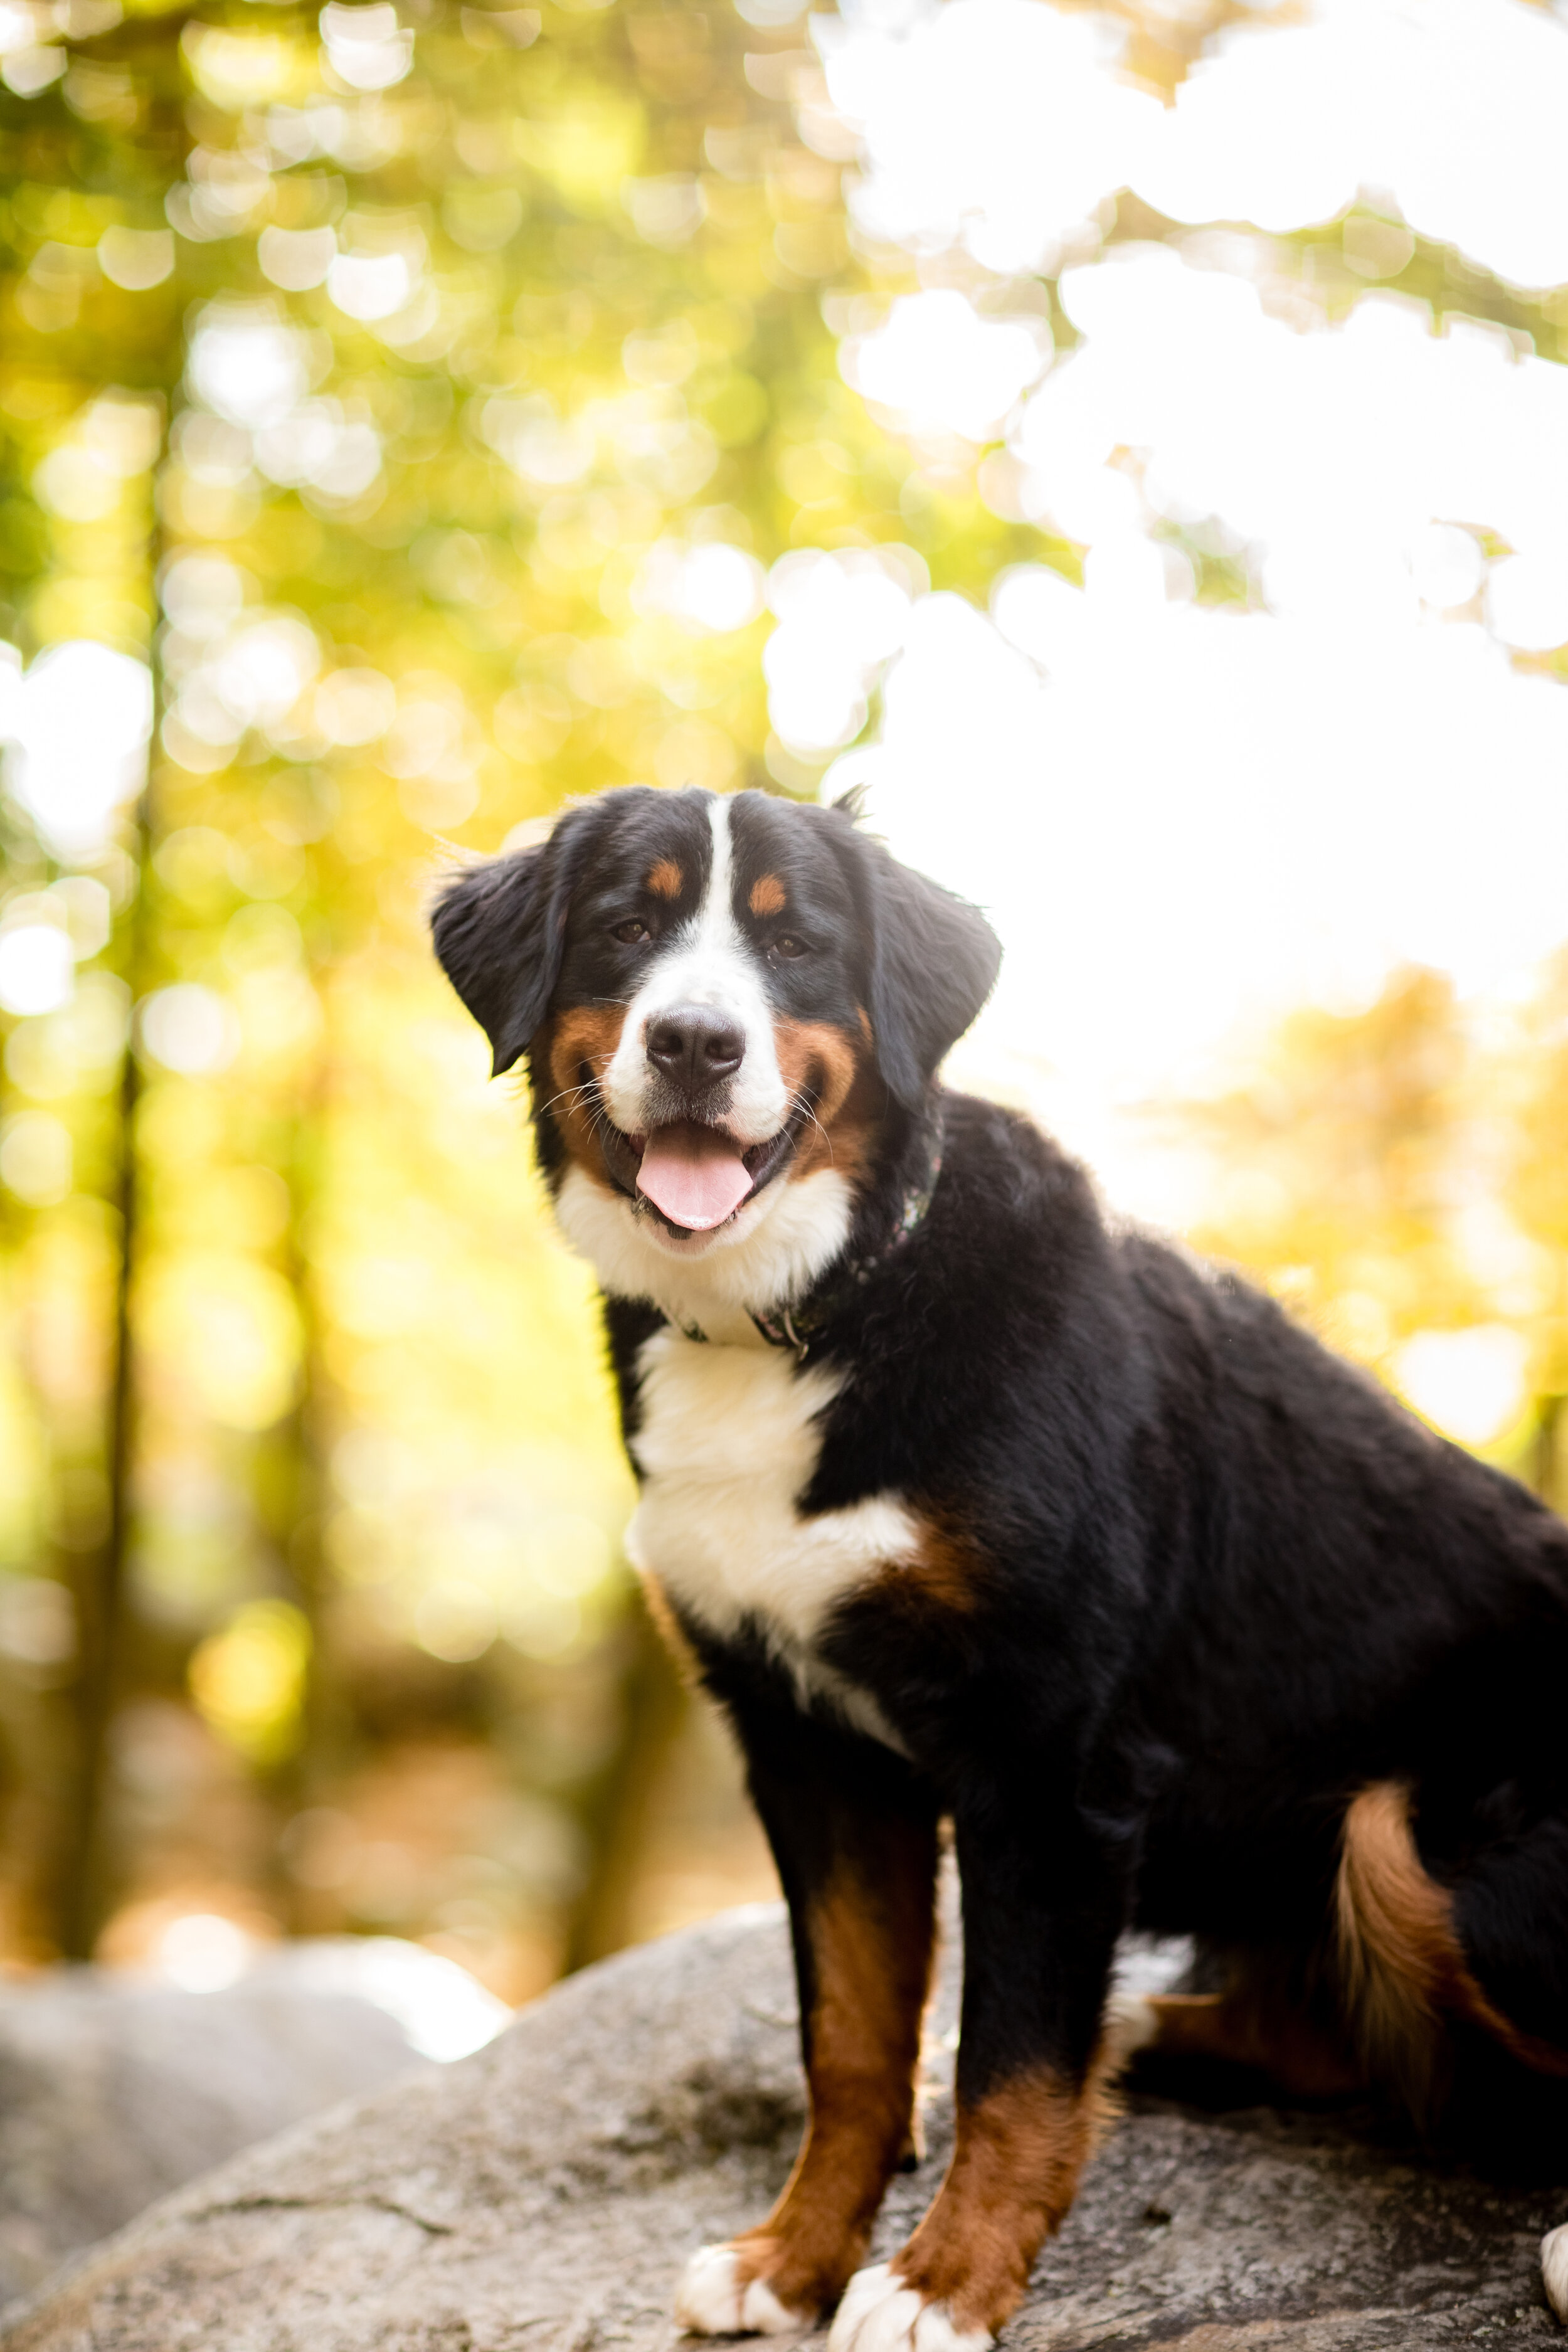


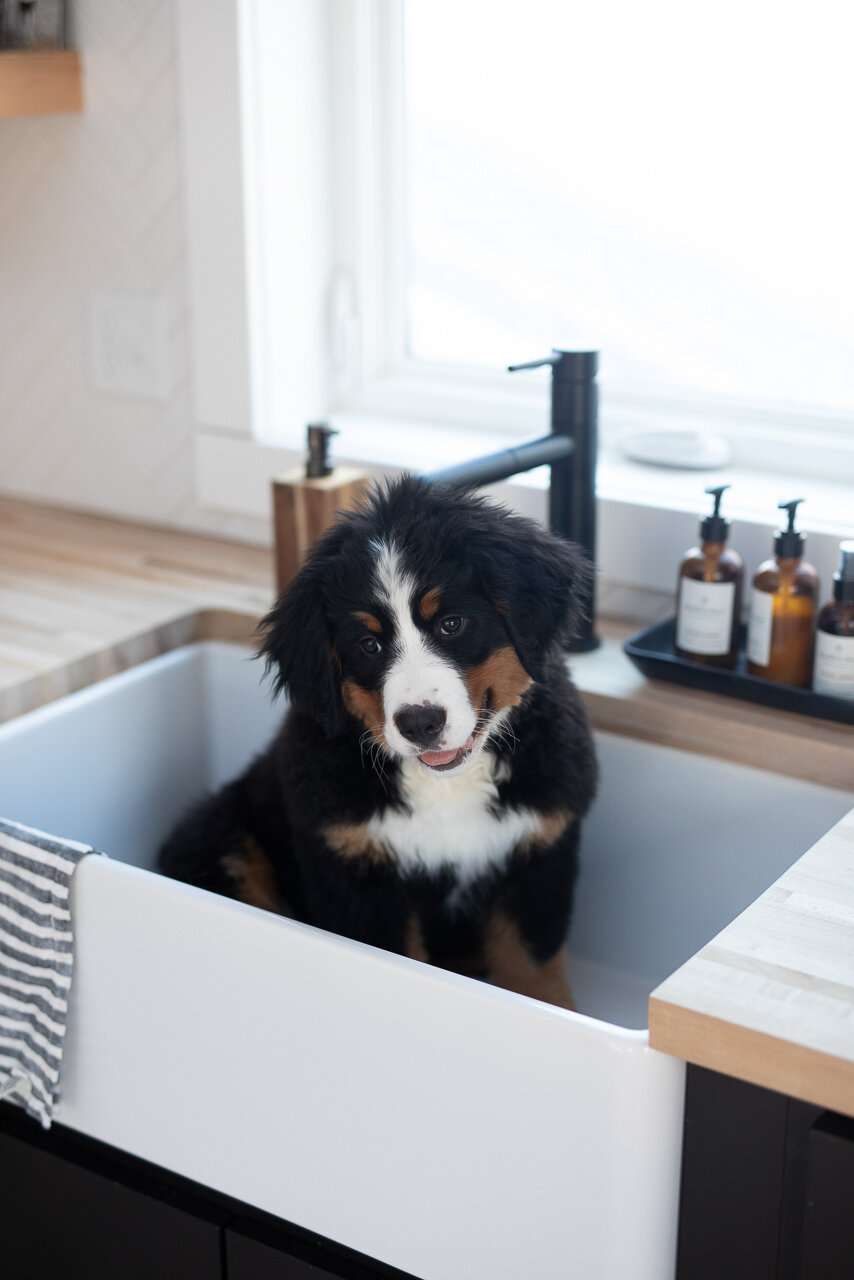
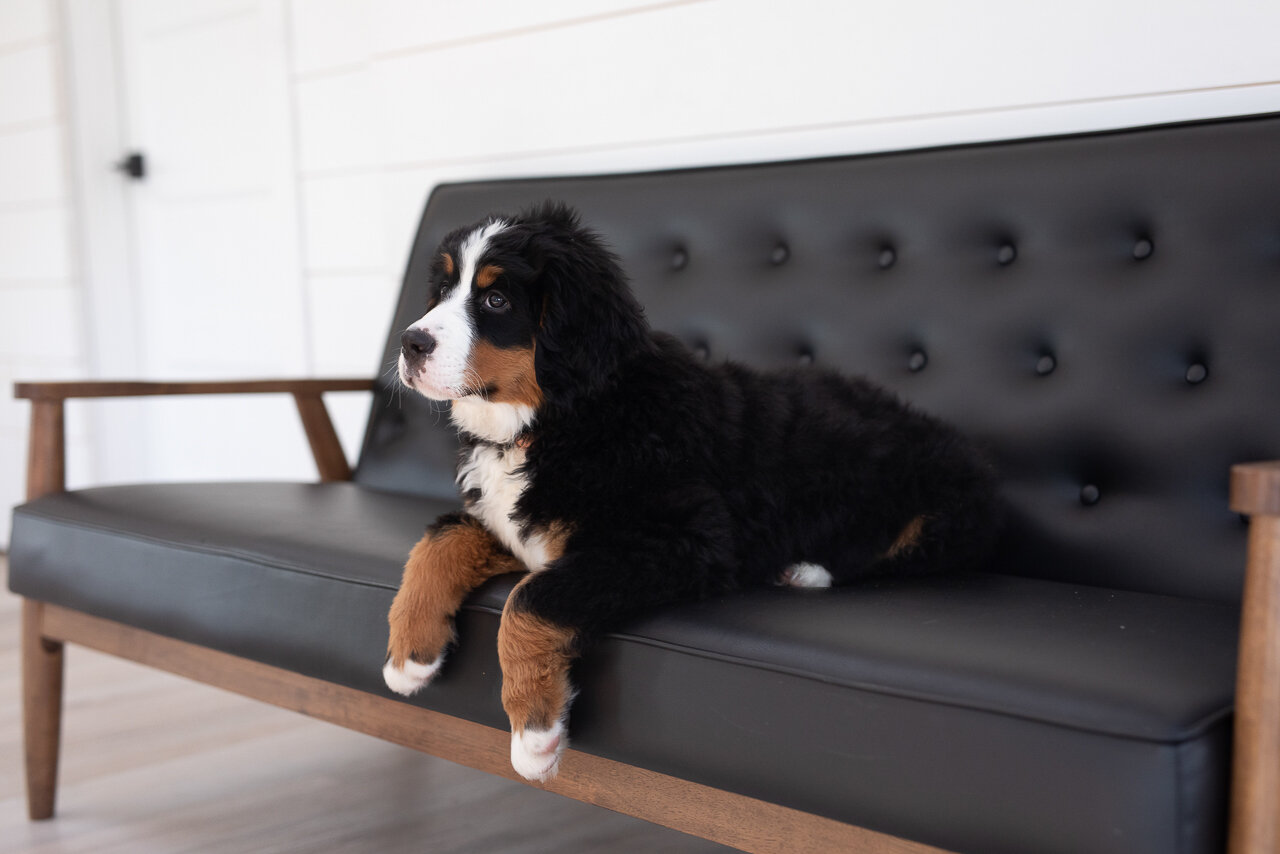

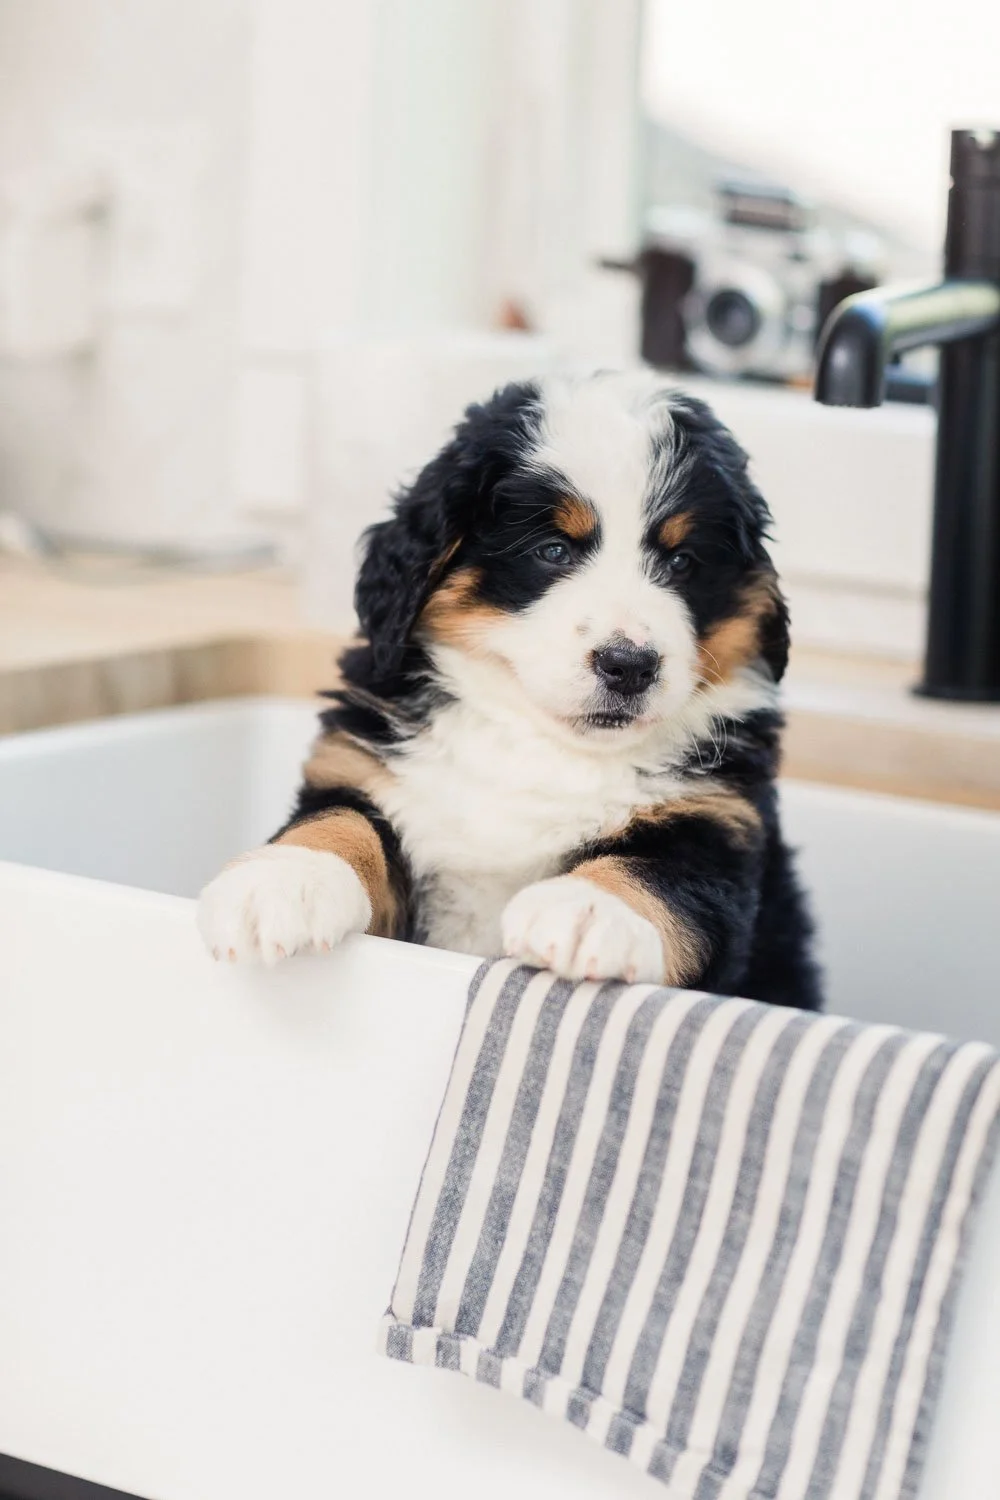


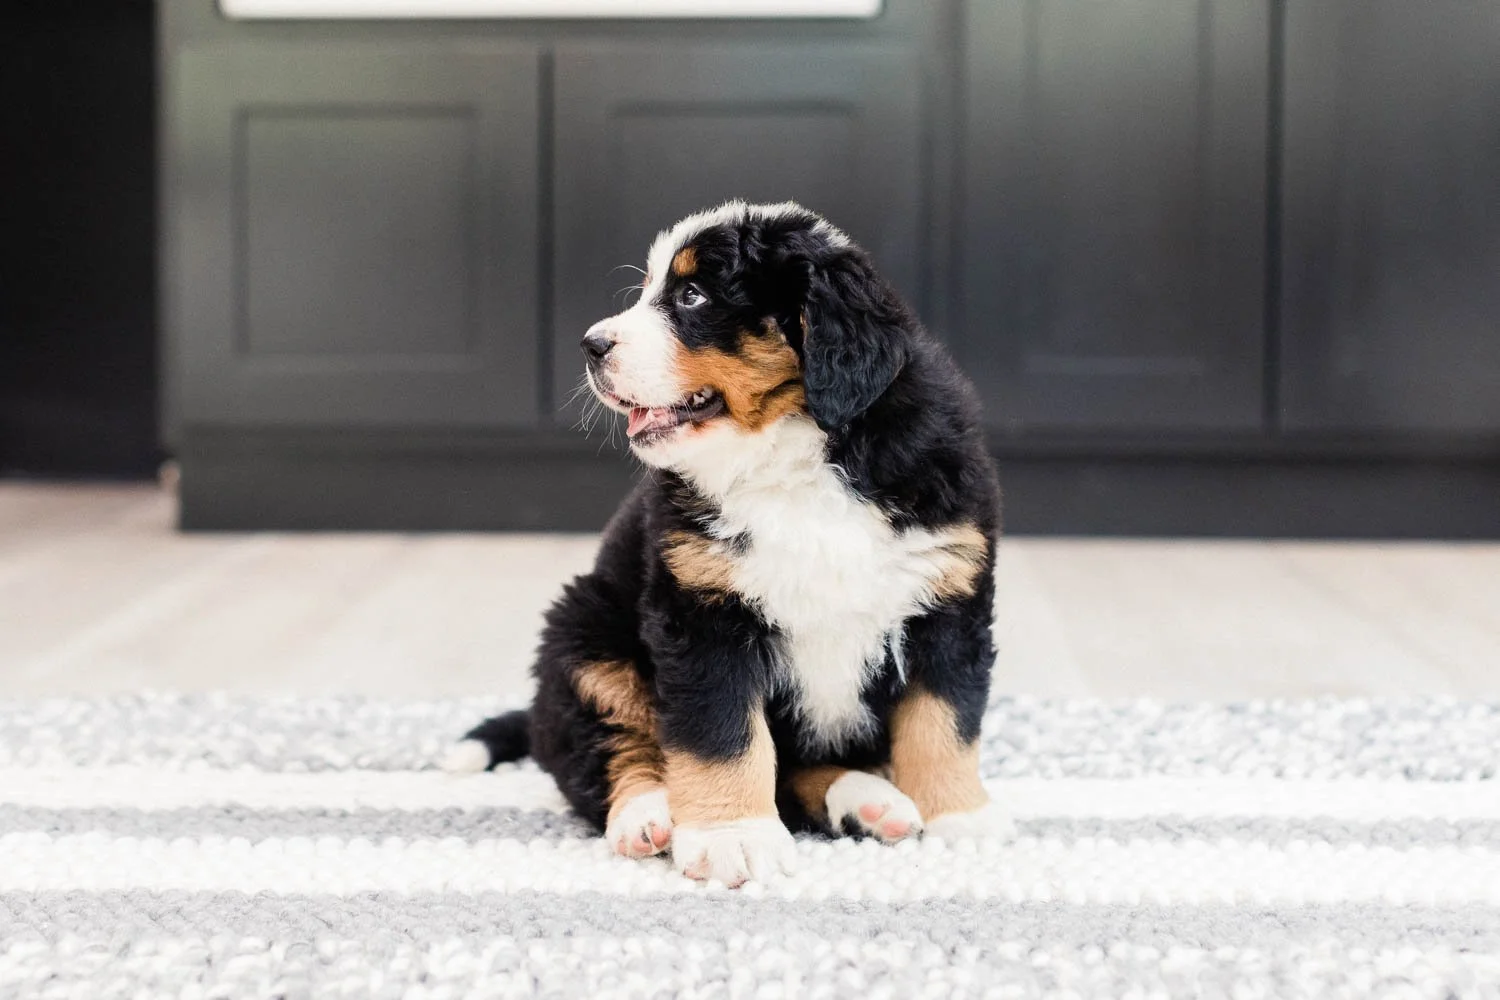

Image Sizing
There are a number of tools that can be used to reduce the size of images without losing quality, some of them are:
Golden Mountain Doodle being spoken to by a Doodle School Trainer in a yard during fall.
Adobe Photoshop: Photoshop has built-in tools for optimizing and saving images for web use, including the "Save for Web" feature.
Adobe Lightroom: Lightroom also has tools for optimizing images for web and social media use, including the ability to export images at specific sizes and resolutions.
Compressor.io: This is an online image compression tool that allows you to upload and optimize images in a variety of file types, including JPEG, PNG and GIF.
Kraken.io: An online image optimization tool that can optimize images in a variety of file types and also provides a plugin for WordPress and other CMS.
ImageOptim: This is a free app for Mac that can optimize images in a variety of file types, including JPEG, PNG and GIF.
RIOT: "Radical Image Optimization Tool" is a free software for Windows that can optimize images in a variety of file types.
TinyPNG: This is another popular online image compression tool that supports JPEG and PNG file types.
GIMP: GIMP is a free open-source image editing software that can be used to optimize and resize images.
"Save for Web" is a feature in Adobe Photoshop that allows users to optimize and export images for use on the internet. It allows users to adjust settings such as file format, quality, and size to reduce file size and improve load times for web pages. The feature also has a built-in preview that shows the image at its intended size and allows users to compare the original and optimized versions side by side. Additionally, "Save for Web" also provides options for cropping, slicing, and adding metadata to images. Image size matters for websites because it affects the load time of the webpage. Large image files take longer to download, which can slow down the overall loading speed of a website. This can be a problem for users, especially for those with slower internet connections, as it can lead to a frustrating user experience. In addition, slow-loading web pages can also negatively impact search engine rankings, as search engines like Google take load time into account when determining a website's relevance and ranking. By reducing image file sizes, the loading time of a website can be significantly improved, which can lead to a better user experience and potentially better search engine rankings.
Web Speed Test
There are several tools that can be used to test the load time of a website and identify potential issues that may be causing slow loading times. Some popular options include:
Google PageSpeed Insights: This tool analyzes a webpage and generates a report that includes performance metrics and suggestions for improvement. It also gives a score out of 100 for both mobile and desktop.
GTmetrix: This tool measures the load time of a webpage and provides detailed information on the page's performance, including the time it takes for different elements to load, the size of the page, and the number of requests made.
WebPageTest: This tool allows you to test the load time of a webpage from multiple locations and browsers, and provides detailed information on the page's performance, including a breakdown of the time it takes for different elements to load and the number of requests made.
4.Pingdom: This tool allows you to test the load time of a webpage from multiple locations and provides detailed information on the page's performance, including a breakdown of the time it takes for different elements to load and the number of requests made.
It's important to note that a slow load time can be caused by a variety of factors, such as large images, unoptimized code, or a lack of browser caching. These tools can help you identify potential issues and provide suggestions for improvement, but it may take some trial and error to find the best solution.


Retouching
Adobe Lightroom has a variety of retouching tools that can be used to enhance and edit images. Here are some steps on how to use the retouching tools in Lightroom:
Open the image you want to retouch in Lightroom's Develop module.
Select the Spot Removal tool from the toolbar on the right side of the screen. This tool can be used to remove blemishes and other unwanted spots from the image.
Use the brush tool to paint over the areas you want to remove. Lightroom will automatically identify and remove the spots. You can adjust the size and feathering of the brush to better match the size and shape of the spots.
Use the Clone tool to clone parts of the image. This can be useful for removing larger areas or for copying parts of the image to another area.
Adjust the image's color and tone with the basic panel. You can adjust the exposure, brightness, contrast, highlights, shadows, white balance, and more.
Use the Graduated Filter and Radial Filter to make selective adjustments to specific areas of the image.
Use the Healing Brush to remove larger areas of unwanted elements, like dust, scratches or larger blemishes.
Use the Adjustment Brush to make selective adjustments to specific areas of the image.
Use the crop tool to straighten or to reframe your image.
Finally, use the export option to save your retouched image in the desired format and resolution.
It's important to remember that less is more when it comes to retouching, so try to be subtle and avoid over-processing. Keep in mind that retouching should be used to enhance the image, not to change it beyond recognition.
Retouching dog photos, like any kind of retouching, can raise ethical concerns. Here are a few things to consider when retouching dog photos:

Brown Merle Puppy with Blue Eyes on Bed
Misrepresentation: Retouching should not be used to misrepresent the dog or to make it appear healthier or more attractive than it actually is. This can be misleading to potential adopters or buyers.
Animal welfare: Retouching should not be used to hide signs of illness, injury or neglect. This could contribute to the animal being placed in an inappropriate home or to a false sense of security regarding its health.
Natural appearance: Retouching should not be used to change a dog's natural appearance, for example, by altering their coat color or removing natural markings.
Consent: Always make sure you have the owner's consent before retouching their dog's photos.
Responsibility: As a retoucher, you have a responsibility to use your skills ethically and to act in the best interest of the dog.
Transparency: Be transparent about what you have retouched and what you haven't.
Purpose: Be mindful of the purpose of the photo and the audience that will see it. For example, a photo of a dog for adoption should be retouched differently than a photo of a dog for a commercial purpose.
Retouching can be a powerful tool to enhance the beauty of dogs and to help them find homes, but it should always be done with care and respect for the animal's welfare and their natural appearance.
Images & SEO
Images can help with SEO in a number of ways:
Increased engagement: Images can help to make a blog post more visually engaging, which can lead to increased engagement and a lower bounce rate. This can help to improve the overall user experience and can also be a positive signal to search engines that the content is high-quality.
Increased social shares: Images can make a blog post more shareable on social media, which can help to increase the visibility and reach of the post. This can lead to more backlinks and traffic to the blog, which can help to improve the overall SEO of the website.
Image optimization: Optimizing images for web by using descriptive, relevant file names, alt text, and proper image size can help to improve the load time of the blog post, which can help to improve the overall SEO of the website.
Image sitemap: Submitting an image sitemap to Google can help the search engine to discover and index all the images on your website, and can help to improve the overall SEO of the website.
Rich snippets: Using structured data for images can help to provide additional information about an image to Google, such as its title, caption, and the name of the photographer. This can help to improve the overall SEO of the website, and can also increase the chances of the image appearing in image search results.
In order for Google and other search engines to understand the images on your website and to properly index them, there are a few best practices that you should follow:
Use descriptive, relevant file names: As I mentioned before, Google uses the file name of an image to understand what it is about, so it's important to use descriptive, relevant file names that include keywords.
Use alt text: Alt text is used to describe the content of an image to search engines and users who are visually impaired. Use a short, descriptive, and relevant text that includes keywords.
Use a sitemap: A sitemap can help Google to find and index all of the images on your website.
Optimize images for web: Optimizing your images for web by reducing the size and resolution can help to improve load time and reduce bounce rate.
Use structured data: Google supports structured data for images, so you can use it to provide additional information about an image, such as its title, caption, and the name of the photographer. This can help Google to understand the context of the image and to provide more relevant results in image search.
Alt text best practices for Doodle Breeders
When writing alt text, remember that you're writing for humans who use assistive screen readers or who disabled images in their browser. An image's filename acts as alt text if there isn't any other alt text added, except for image blocks and auto layouts. We recommend using our alt text best practices when you create image filenames for your images.
Keep in mind:
Be descriptive and helpful. How would you describe this image to someone who couldn't see it?
Keep the text short, typically twelve words or fewer.
Optimize your text for search by incorporating keywords, but avoid keyword stuffing.
Write in real sentences; don't use hyphens to separate words.
You can omit words like "the" and "a," and terms like "photo" or "picture." For example, instead of a picture of a green vase, use green vase.
Uploading
Uploading photos from Adobe Lightroom to Instagram can be done in a few steps:
Brown Tri Mini Bernedoodle
Make sure you have the latest version of Lightroom installed on your computer.
Install the Lightroom Mobile app on your mobile device.
Open the Lightroom app on your mobile device and sign in with your Adobe ID.
On your computer, open the Lightroom desktop app and select the photo you want to upload to Instagram.
Right-click on the image and select "Export."
In the export dialog box, choose a location to save the image and make sure to select "JPEG" as the file format.
Once the image has been exported, open the Lightroom mobile app on your mobile device and go to the "Sharing" tab.
Select the image you want to upload to Instagram and tap the "Share" button.
Select "Instagram" from the list of options. The image will open in the Instagram app.
Add captions, hashtags, and any other information you want to include and then tap "Share" to upload the photo to your Instagram account.
Hashtags: Posting Images
A hashtag is a word or phrase preceded by the "#" symbol, used to identify and categorize content on social media platforms such as Twitter, Instagram, and Facebook. Hashtags make it easier for users to find and follow conversations, events, and trends that are relevant to their interests.
Hashtags can be very useful for marketing because they can help to increase the visibility and reach of a brand's content. By using relevant hashtags, a brand can make its content more discoverable to a wider audience, and can also join in on conversations and trends that are relevant to their industry or niche.
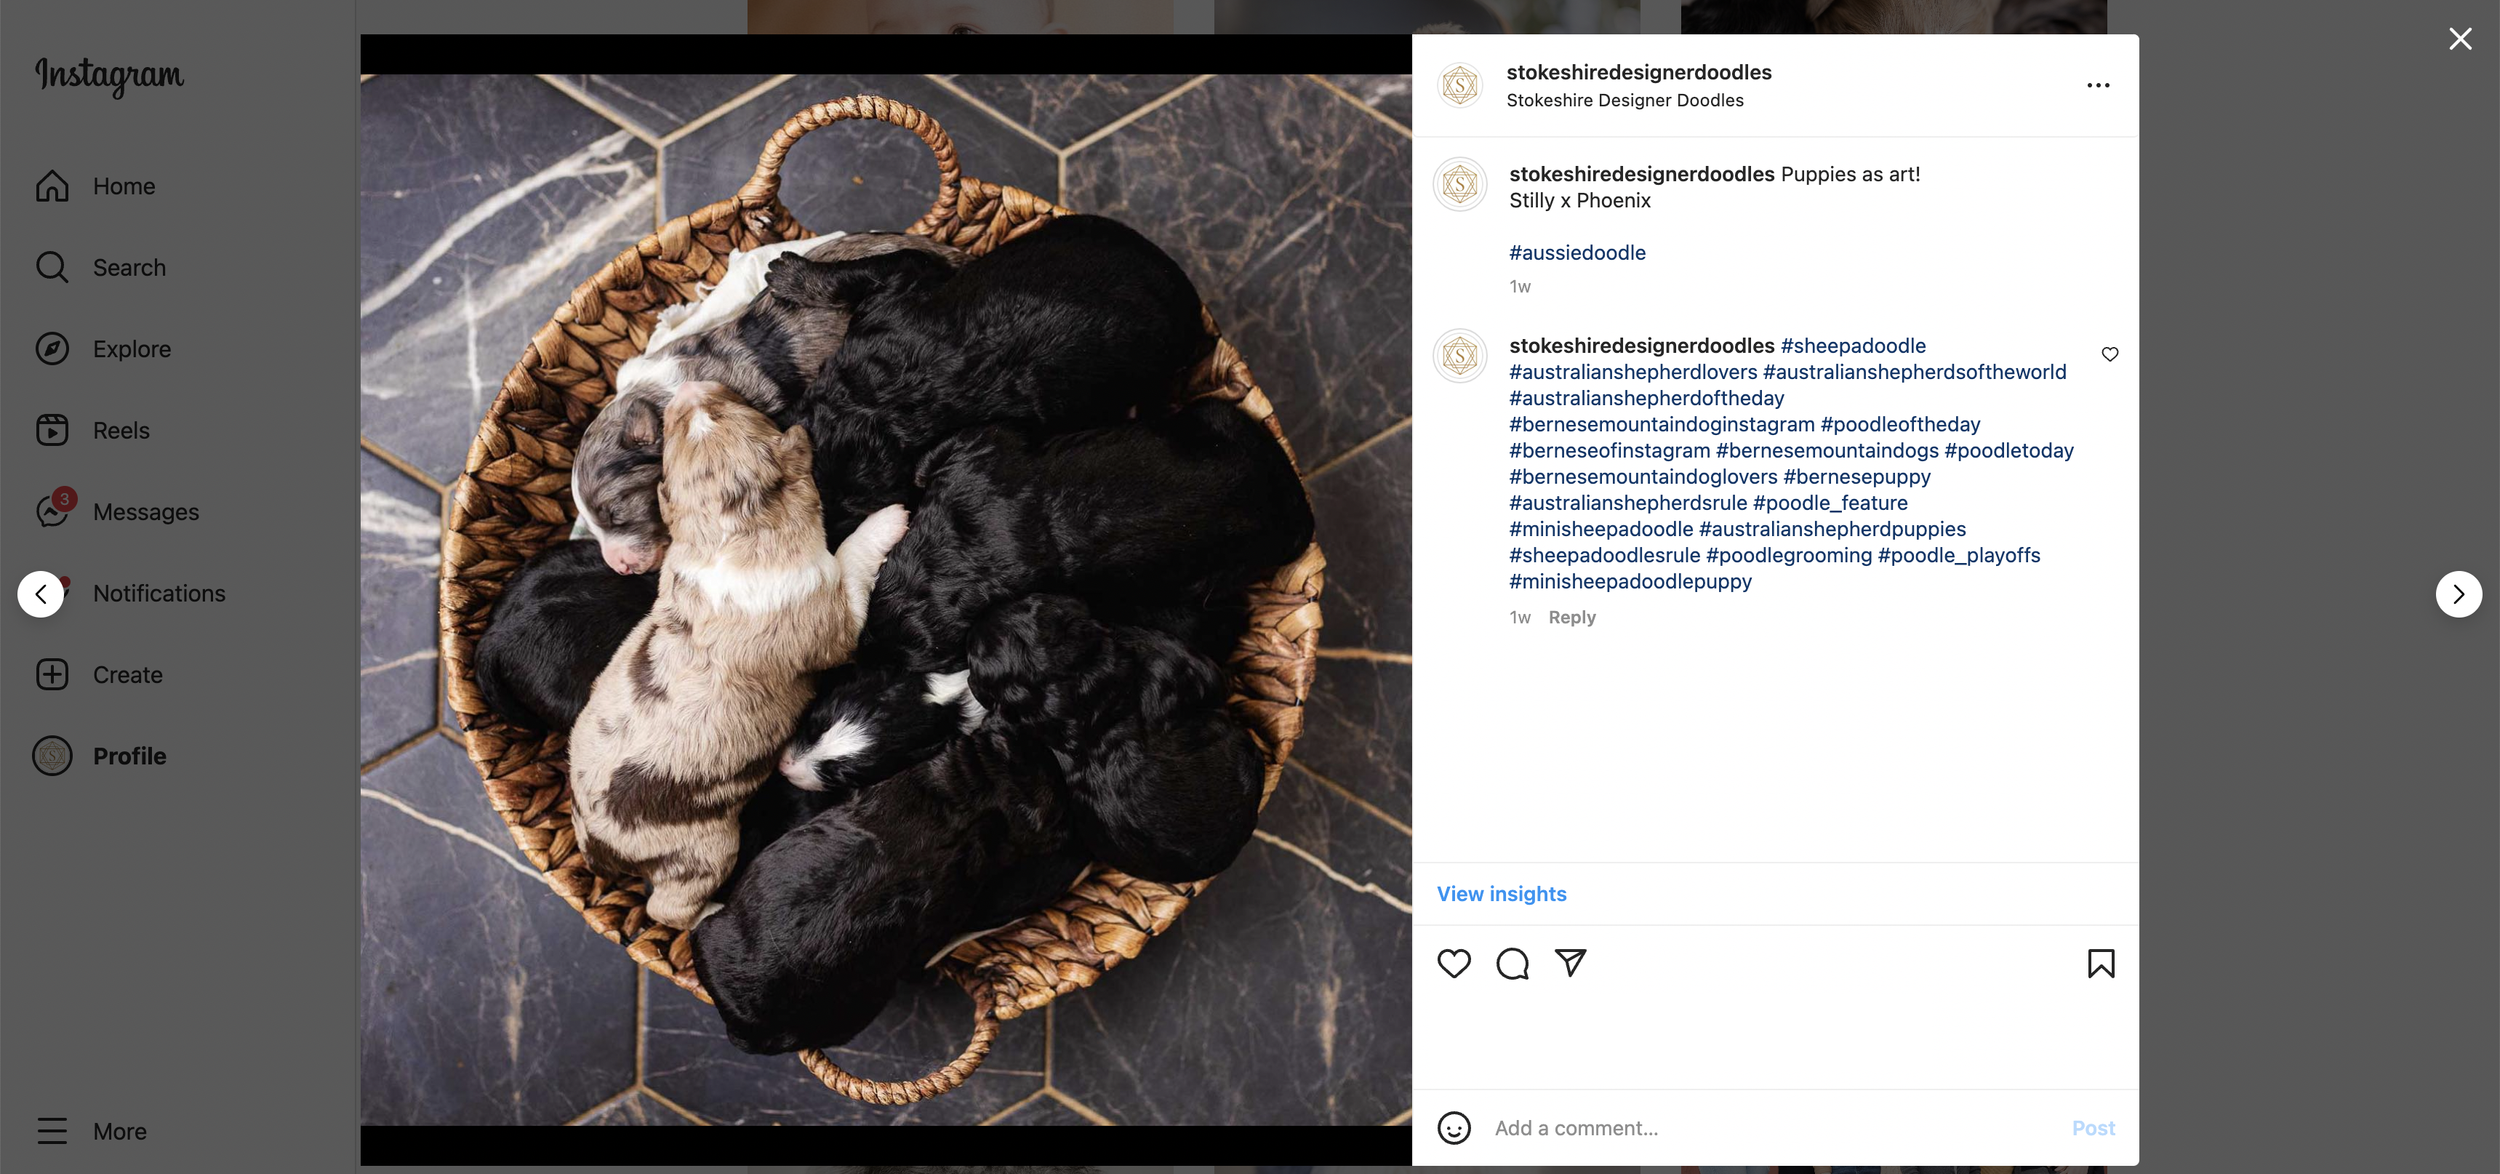
Example of how to post in Instgram using hashtags for Doodle Breeders
When using hashtags for marketing, it's important to use a combination of popular, relevant, and branded hashtags. Popular hashtags are those that are widely used and relevant to the content you are sharing, relevant hashtags are those that are specific to your industry or niche, and branded hashtags are specific to your company or product.
It's also important to use hashtags strategically. For example, using too many hashtags in a single post can appear spammy and can decrease engagement. Also, using irrelevant hashtags can make your post appear irrelevant and out of context which can decrease reach and engagement.
In short, hashtags can be very useful for marketing, but they should be used strategically and in combination with other marketing tactics to achieve the best results.
When it comes to posting your puppy photos on social media platforms, the best time to post can vary depending on the platform and the target audience. However, here are a few general guidelines to consider:
Post during peak hours: Most social media platforms have certain times of day when more people are online and active. Posting during these peak hours can increase the visibility and engagement of your dog photos.
Post when your audience is most active: Use analytics tools or check your own insights to see when your audience is most active on social media platforms. It's best to post during those times so that your photos will be seen by more people.
Post at the right time for your industry or niche: Different industries and niches may have different peak engagement times. For example, if your target audience is mostly working professionals, posting during business hours may be more effective than posting during off-hours.
Test and adjust: Keep track of the engagement and reach of your puppy photos, and make adjustments to your posting schedule as needed.
Insights & Analytics
Facebook Insights is a built-in analytics tool for Facebook pages that allows page administrators to track and measure the performance of their page. With Facebook Insights, you can gain valuable insights into your page's reach, engagement, and audience demographics. Here are a few key metrics that you can track with Facebook Insights:
Reach: The number of people who have seen your posts.
Impressions: The number of times your posts have been seen, including multiple views by the same person.
Engagement: The number of likes, comments, shares, and other interactions with your posts.
Audience: Information about the demographics of your audience, including age, gender, location, and language.
Traffic: The number of clicks to your website from your Facebook page.
Video metrics: Information about the performance of videos posted to your page, including views, unique views, and audience retention.
Ad insights: If you are running paid ads on Facebook, you can use ad insights to track the performance of your ads and measure the return on investment.

Facebook Insights allows you to view data for a specific time period, compare data across multiple periods, and export data for further analysis. With this data, you can better understand how your content is performing, which can help you to make informed decisions about the types of content to post, when to post and how to improve overall performance.
It's important to note that Facebook Insights is just one of the many analytics tools available, so it's good to also use other analytics tools to get a more comprehensive view of your page's performance and audience.
Google Analytics is a free web analytics service offered by Google that tracks and reports website traffic. Here are a few steps to set up and use Google Analytics:
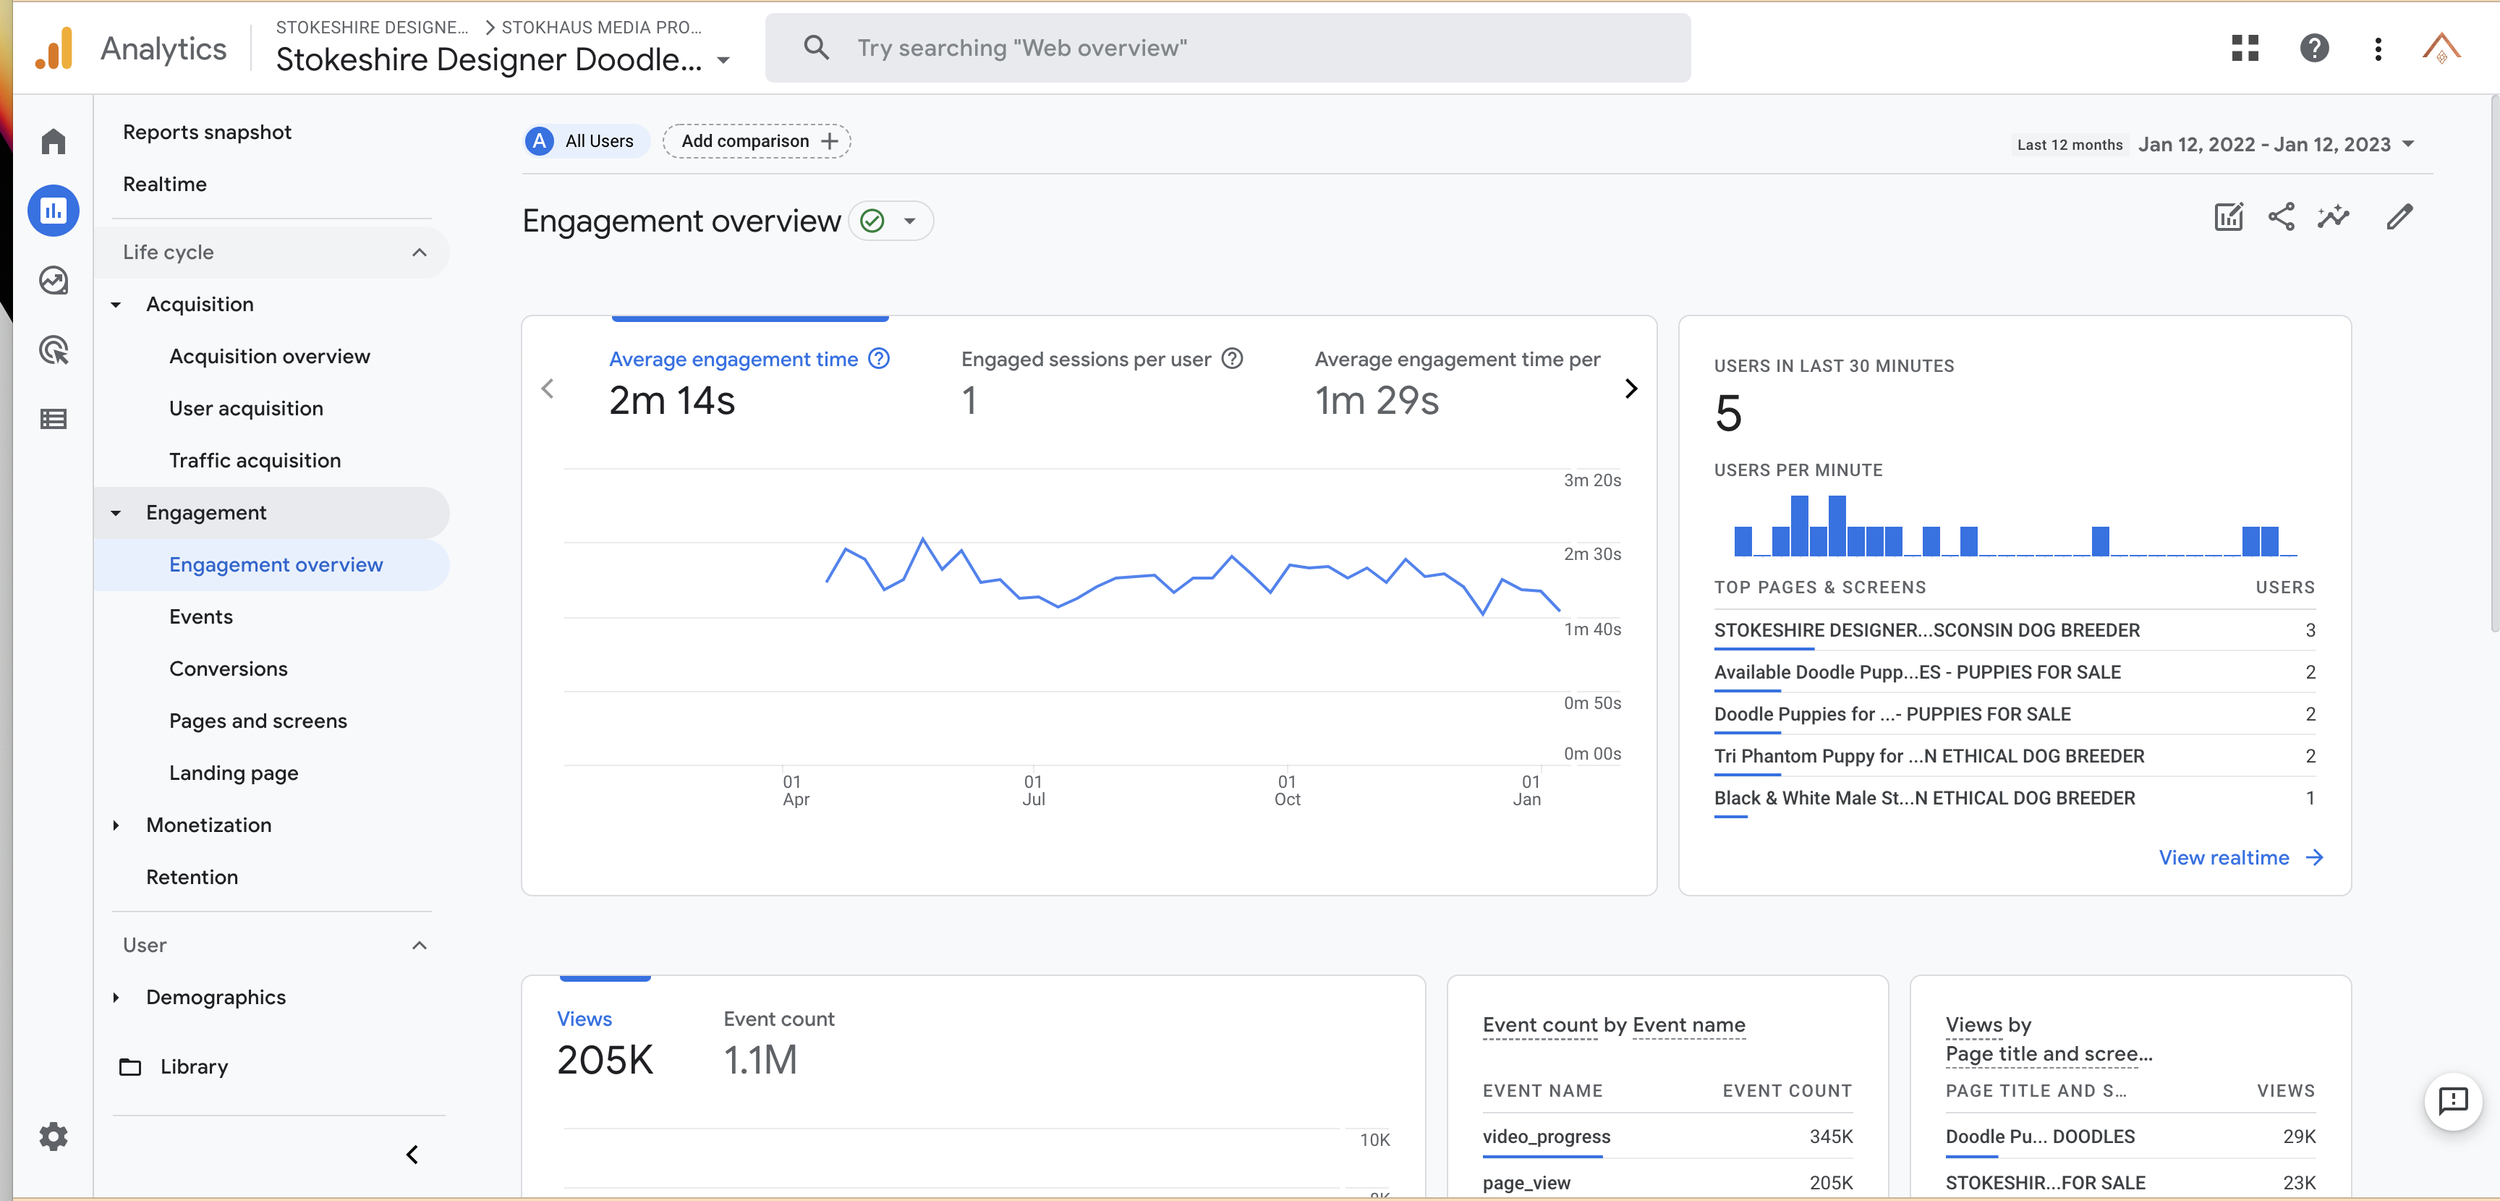
Create an account: Go to the Google Analytics website and sign up for a free account. You will need a Google account to sign up.
Add the tracking code to your website: Once you have set up your account, you will be given a tracking code that needs to be added to your website. This code should be added to every page of your website that you want to track.
Configure your account: After the tracking code has been added to your website, you can configure your account by setting up goals and filters, linking to other Google products, and setting up custom reports.
Analyze your data: Once your account is set up, you can begin analyzing your data. Google Analytics provides a wealth of data on your website's traffic, including information on the number of visitors, where they came from, how long they stayed, and which pages they visited.
Use the data to improve your website: Use the data provided by Google Analytics to make data-driven decisions about your website. You can use the data to identify areas of improvement, such as high bounce rates or low conversion rates, and make changes to your website to address these issues.
Create custom reports: Google Analytics allows you to create custom reports that show only the data that is most important to you. You can create segments, filter and compare data, and export the data to Excel or Google Sheets.
Google Analytics is a powerful tool that can provide valuable insights into your website's performance and help you to make data-driven decisions. It's important to note that Google Analytics can be complex and takes time to master, but there are many resources available online to help you get started.
Conclusion
High-quality images are important when selling puppies because they can have a significant impact on the perceived value of the puppies and on the ability to attract potential buyers. Here are a few reasons why high-quality images are important for Doodle Breeders;
Attracting buyers: High-quality images can help to attract potential buyers by showcasing the puppies in the best light possible. Clear and well-lit images can make a big difference in how appealing the puppies appear to potential buyers.
Showing off features: High-quality images can help to show off the unique features and characteristics of the puppies, which can be important in differentiating them from other puppies for sale.
Conveying value: High-quality images can help to convey the value of the puppies by showcasing their health, appearance, and overall quality.
Building trust: High-quality images can help to build trust with potential buyers by showing them what they can expect from the puppies.
Giving an idea of the size: High-quality images can help to give an idea of the size of the puppies, which can be important for buyers who are looking for a specific size.
Showing the environment: High-quality images can help to show the environment where the puppies were raised, which can be important for buyers who are looking for a certain type of environment. For us a Stokeshire, we raise our puppies in our home and nursery and are accustomed the life surrounded by children and other animals.
Professionalism: High-quality images can help to convey a sense of professionalism and attention to detail, which can be important for building a strong reputation. We spend a great deal of time and effort in the care and well-being of our puppies and their parents.
It is important to remember that the images should be true representations of the puppies, not misleading or manipulated in any way. We want to build trust. Be consistent and hire professionals if you’re not able to provide this service for your program and your clients.
In addition, there are several ways to improve your puppy photos using textures and accessories, such as:

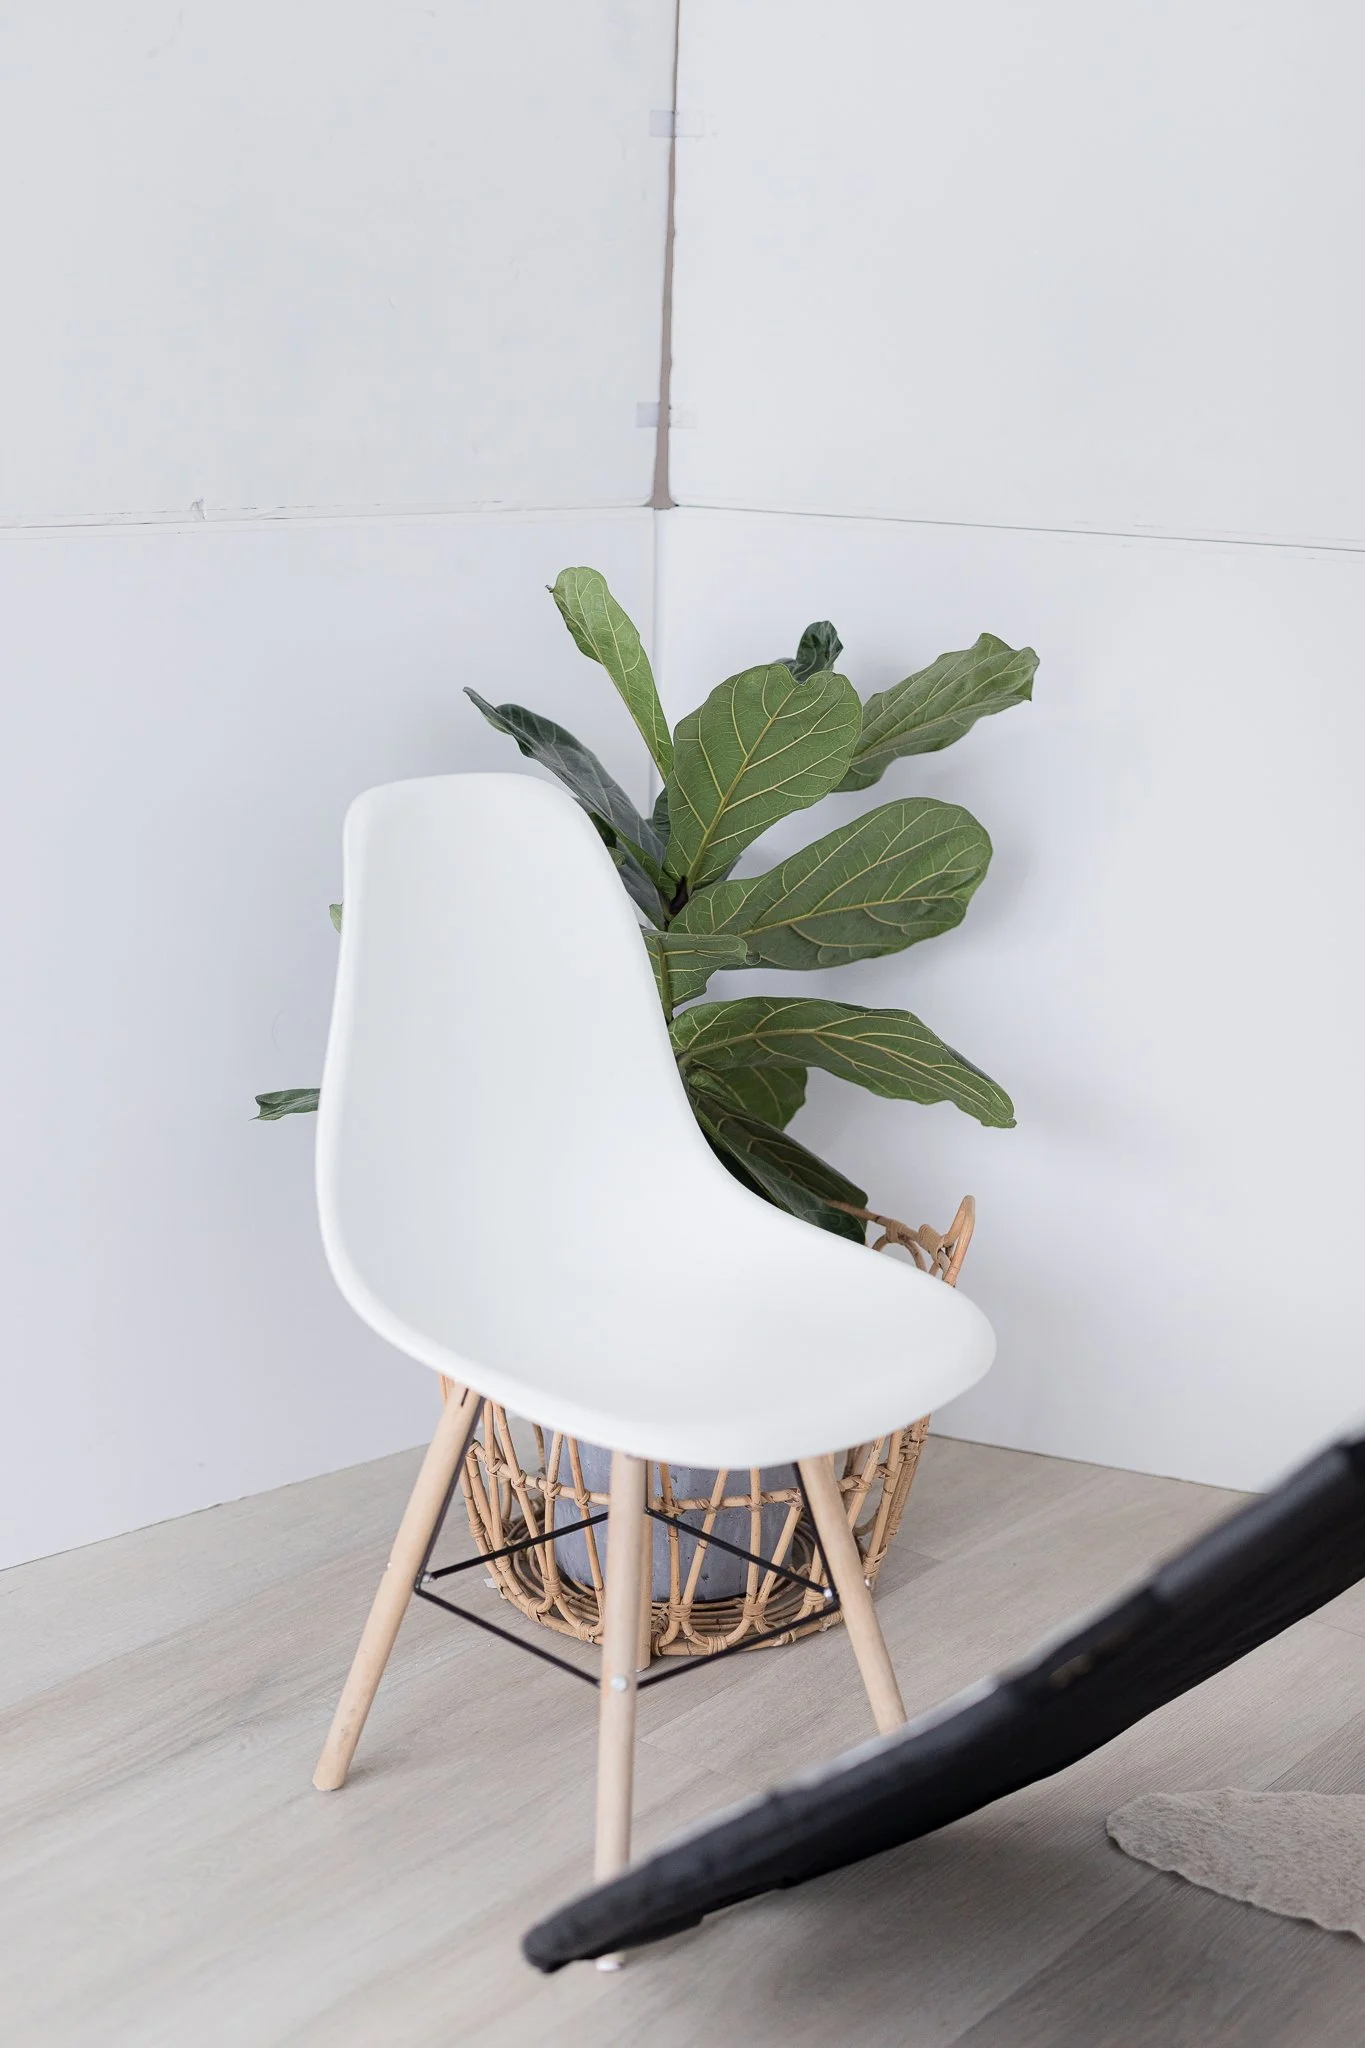
Tri Colored Brown and White Australian Mountain Doodle in a Cement Pot
Use textured backgrounds: Use textured backgrounds such as wood, grass, or fabric to add depth and interest to your photos. Textured backgrounds can also help to make the puppies stand out.
Use natural elements: Incorporating natural elements such as leaves, flowers, or branches can add a natural and organic feel to your doggy photos.
Use props: Use small props such as toys, bowls, or collars to add a sense of scale and to give the puppies something to interact with.
Use lighting: Use lighting to create mood and atmosphere in your photos. Soft, diffused light can create a warm and inviting atmosphere, while harsher light can add drama.
Use creative compositions: Try different compositions to create interest and drama in your photos. Use the rule of thirds to place the puppies off-center and use leading lines to draw the viewer's eye through the photo.
Use selective focus: Use selective focus to draw attention to specific parts of the photo and to create a sense of depth.
Use reflections: Reflections can add a unique and interesting aspect to your photos, try to capture the reflection of the puppies on a mirror or in a pond.
Use bokeh: Use bokeh to create a sense of depth and to draw attention to the puppies. Bokeh is the blur or the out-of-focus areas in a photo, it can be achieved by using a wide aperture.
By using these techniques and accessories, you can add more interest and visual appeal to your puppy photos, making them more attractive to potential buyers or adopters.
Most importantly, have fun!
